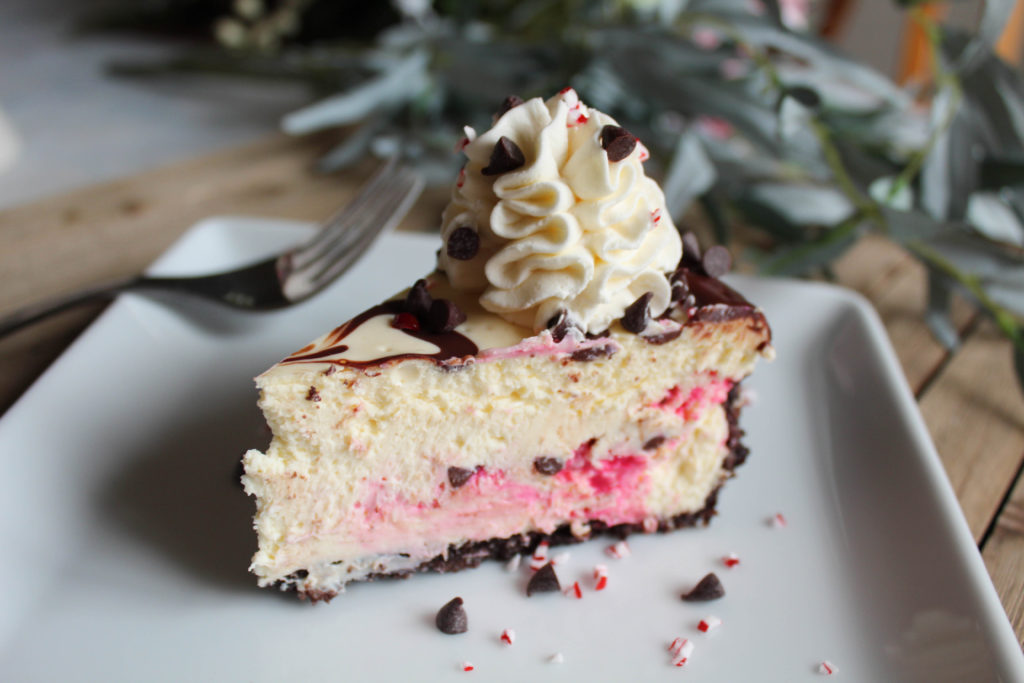
This amazing cheesecake will be DESSERT at my holiday dinner this weekend! It actually took me 3 tries (over the last few weeks) to get it exactly the way I wanted it. That means perfection, right? Well at least it’s perfect for me!
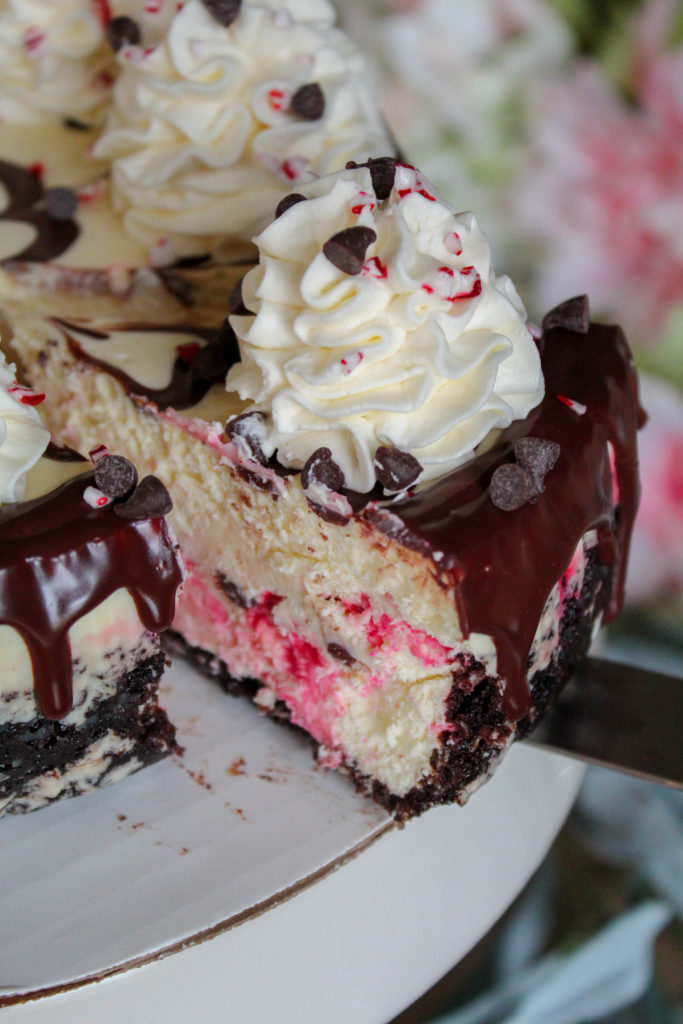
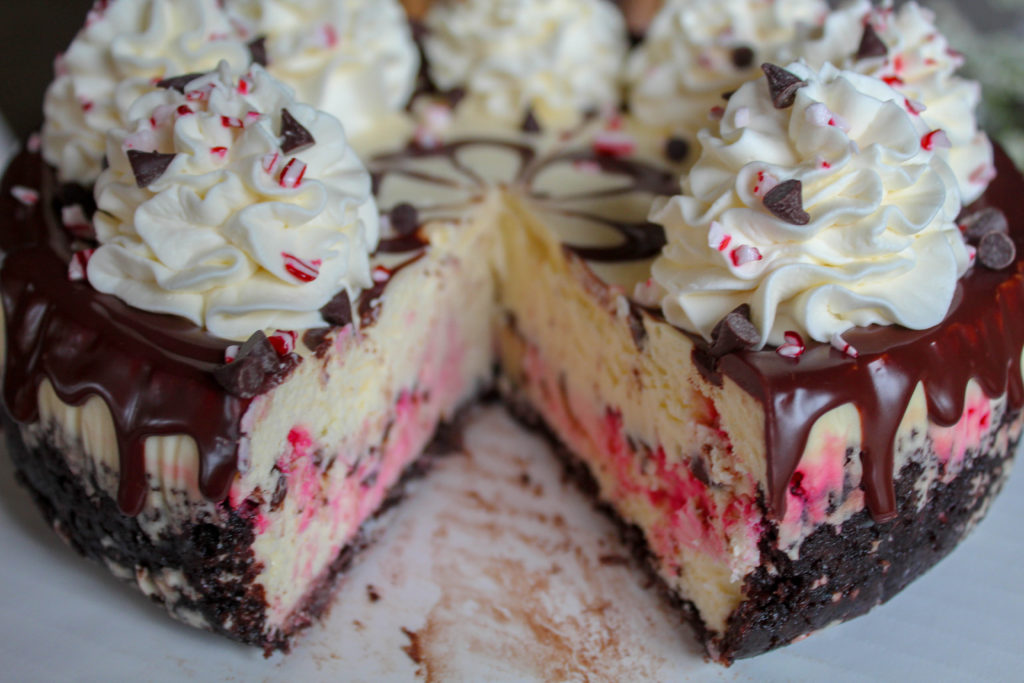
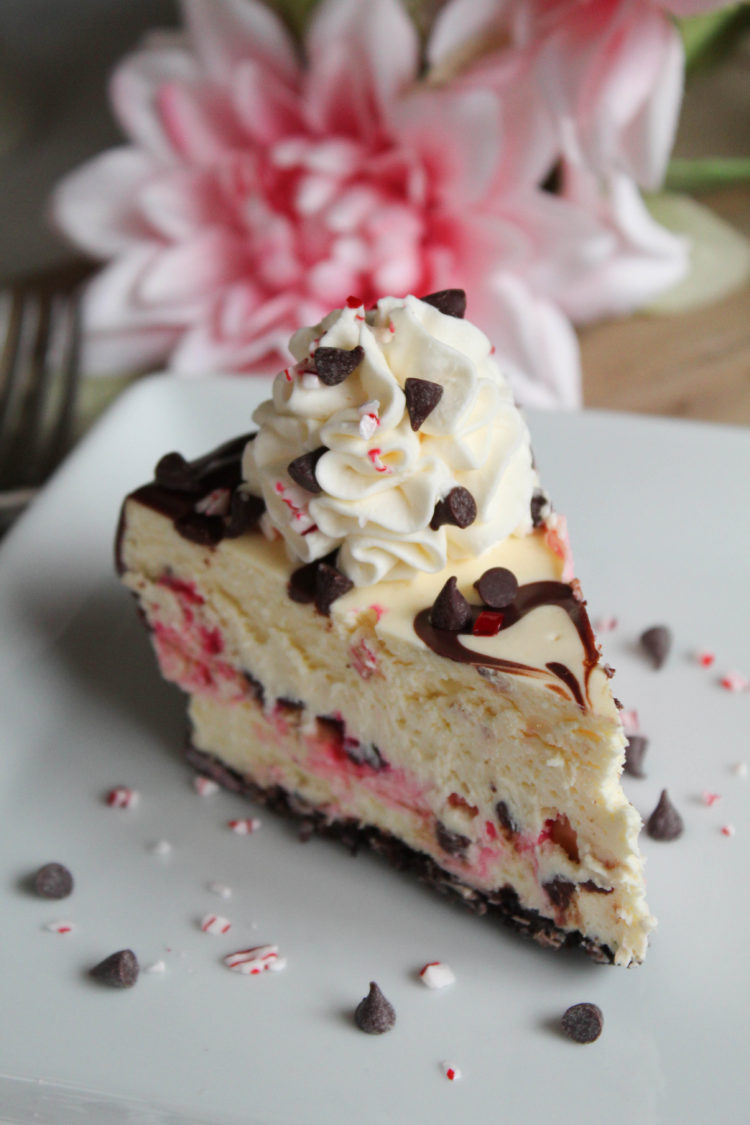
While I love peppermint bark, I didn’t want the taste of peppermint to over-take the cheesecake. My goal was to replicate the flavors that make peppermint bark so yummy – white and dark chocolate, and peppermint. I settled on my white chocolate cheesecake, with a chocolate cookie crust as the base. Then I added some crushed peppermint candy bits and mini semi sweet chocolate chips between 2 layers of cheesecake. The beauty of this recipe is that you can make it more or less “minty” depending on your preference. Add a little peppermint extract to the cheesecake, or the chocolate ganache if you like.
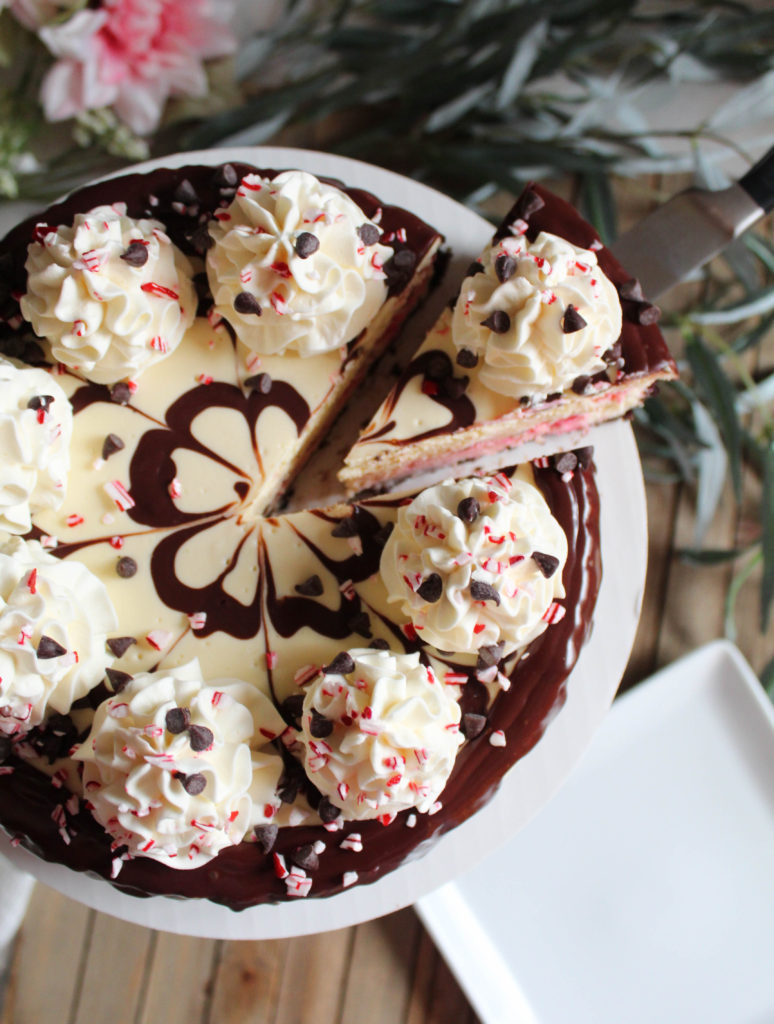
** I wanted a very pretty pattern to top my cheesecake, so before I baked it, I added several rings of chocolate ganache using a plastic squirt bottle. The rings came out somewhat “squiggly” which I hadn’t expected, but this proved to help make my final pattern much like a beautiful flower! To create this effect, I just dragged a sharp knife through the chocolate, from the edges to the center. I spaced these evenly apart, 8 times. You can do this as many times as you like, to create your individual design.
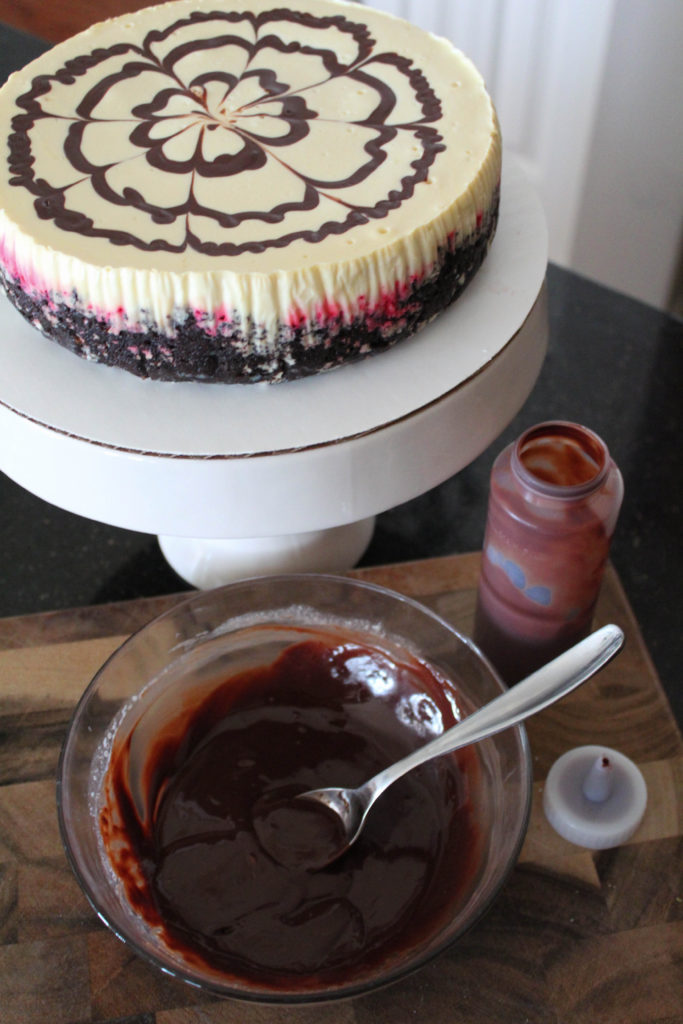
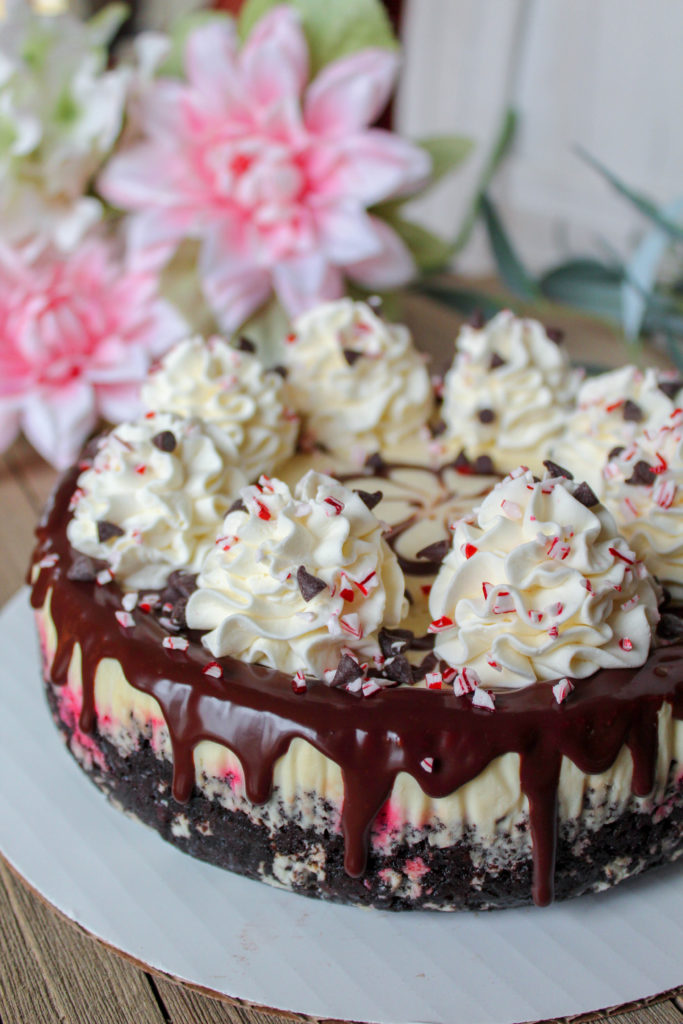
Of course you can stop right here, and serve this stunning cheesecake just as it is!
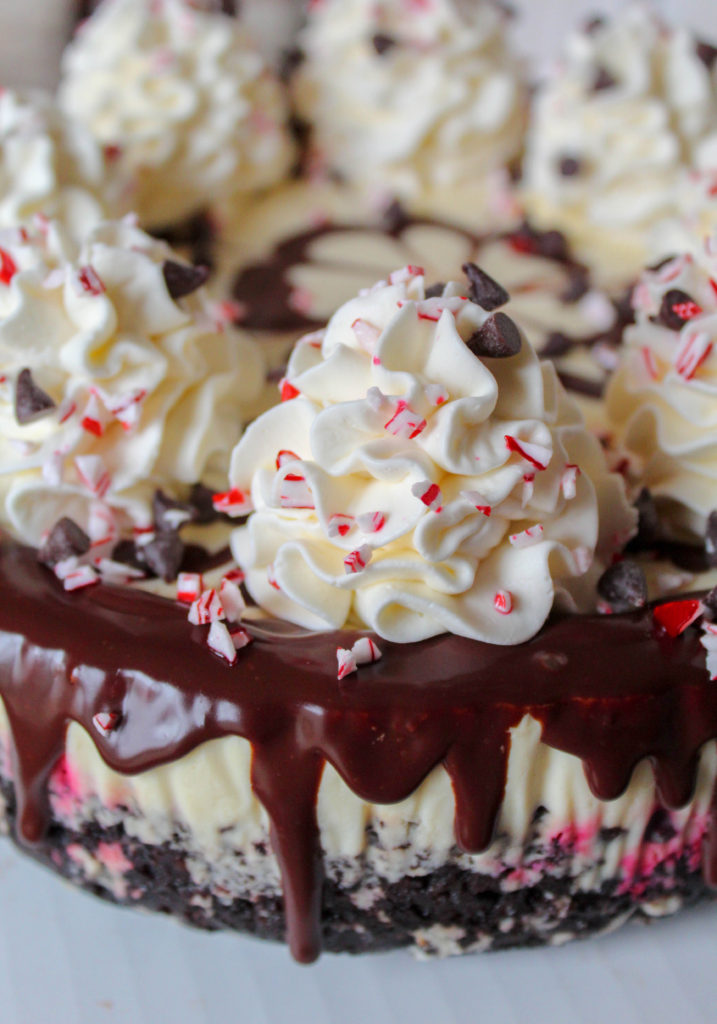
I decided to add a lovely chocolate ganache drip all around the top edges. I didn’t want to cover the entire pattern on top – so I chose to add some “snowballs” of mascarpone whipped topping, and sprinkle with more peppermint candies and chocolate chips, while still leaving some of the pattern in view. Just beautiful! The whipped topping can be added to each individual slice when serving if you prefer.
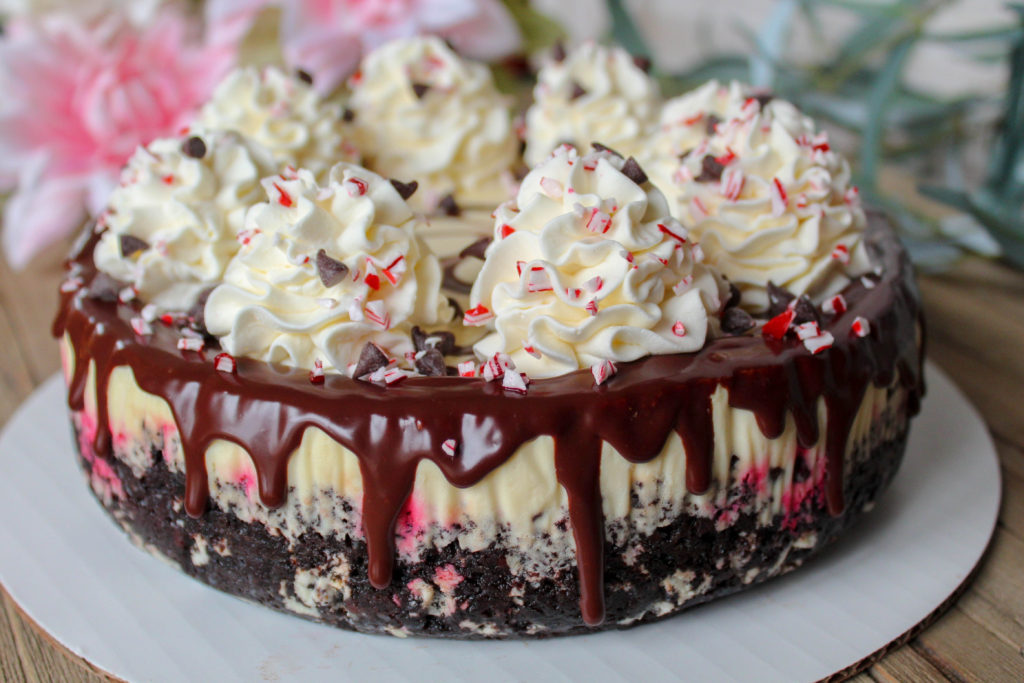
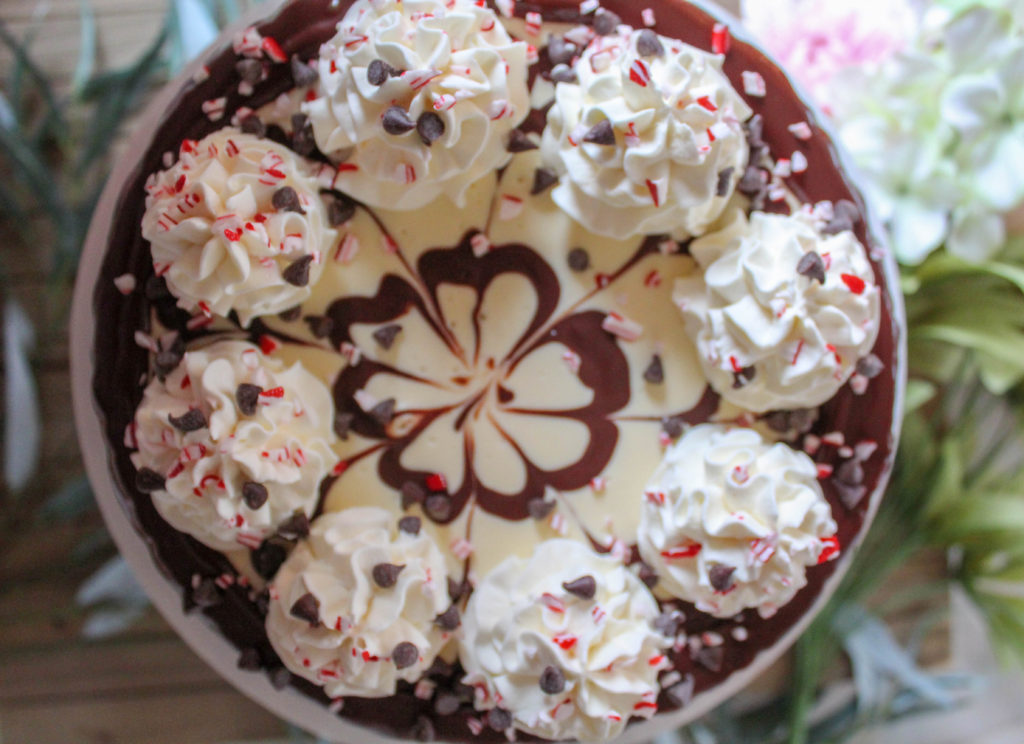
Here is my recipe for WHITE CHOCOLATE PEPPERMINT BARK CHEESECAKE:
You will want to make this cake the day before you want to serve it. It will need to spend the night in the refrigerator, for the best texture and taste. This recipe will make 1 – 8″ or 9″ cheesecake.
CHOCOLATE CRUST:
1 1/2 c chocolate wafer cookie crumbs, or chocolate graham cracker crumbs
4 Tbsp granulated sugar
4 Tbsp melted butter
Alternative: You can also use about 20 Oreo cookies – use a food processor to get fine crumbs. Add 4 Tbsp unsalted melted butter.
You will also need:
1/4 c crushed peppermint candy bits (plus extra for garnish)
1/4 c mini semi sweet chocolate chips (plus extra for garnish)
CHOCOLATE GANACHE:
4 oz semisweet chocolate, chopped
4 oz heavy cream
Combine in a microwave safe bowl, and microwave on high for 30 second intervals, just til cream is frothy, stirring between intervals. Stir til smooth and glossy. Pour into a plastic squirt bottle.
MASCARPONE WHIPPED TOPPING:
1 1/2 c heavy cream
3/4 c powdered sugar
1 tsp vanilla
8 oz mascarpone cheese
CHEESECAKE:
3 – 8oz pkgs full fat cream cheese (at room temp)
1/2 c granulated sugar
3 eggs
1 tsp vanilla extract (you could substitute peppermint extract if you want more mint flavor)
2 c white chocolate chips
1/2 c heavy cream
Prepare an 8-9″ spring form pan with cooking spray. Line the bottom with a parchment paper round (to prevent sticking). I also line the sides, for easy removal. Combine crushed cookie crumbs in a medium bowl, with sugar and melted butter. Pour into prepared pan, and press on the bottom, and slightly up the sides. Place pan on a cookie sheet pan, and bake for about 10 min. Set aside and cool.
Preheat oven to 325 degrees.
Melt white chocolate chips and heavy cream in a double boiler, over low heat. Stir til melted and smooth. Set aside.
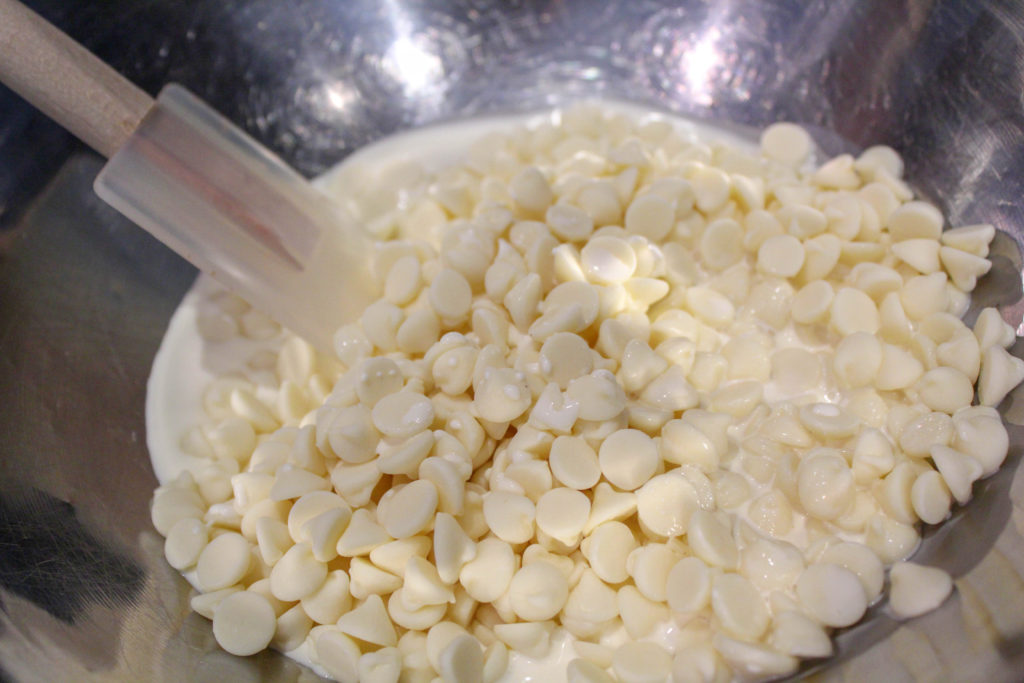
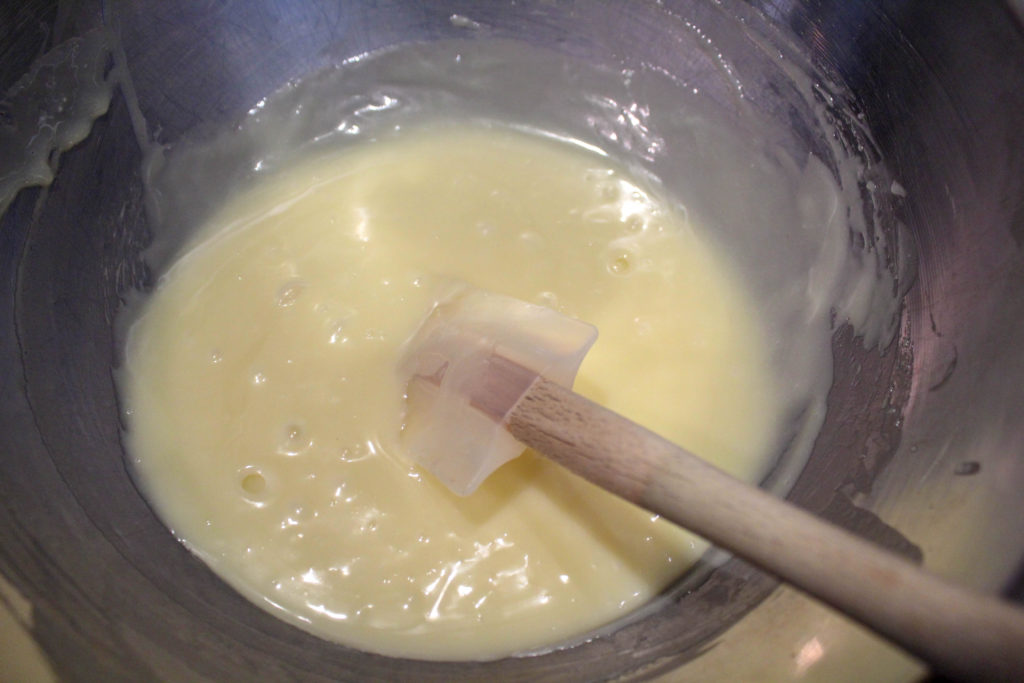
In a stand mixer, using a paddle attachment, blend the cream cheese and sugar til very smooth – no lumps allowed! Completely softened cream cheese is essential here. Add eggs, 1 at a time. Blend between each addition, just til incorporated. Add vanilla, and white chocolate mixture. Blend to combine.
The best way to bake a cheesecake is in a water bath. It creates the most even baking for sure. You can bake it on a sheet pan if you prefer – but it may not come out quite as “perfect”. My cheesecakes baked this way never crack!
Wrap the outside of your spring form pan with a single large piece of foil – get the extra long 18″ foil for this. It will prevent any water from getting into the crust on the bottom. (Don’t overlap 2 small pieces of foil, as water WILL GET IN!) Place the foil-covered pan into a larger pan. Pour 1/2 of cheesecake mixture into the cookie lined pan. Spread to the edges. Top with 1/4 c of the crushed peppermint candy bits, and 1/4 c mini chocolate chips. Top with the remaining cheesecake mixture, completely covering the peppermint and choc chips. Spread cheesecake to the edges.
** See note at the top of this post – for instructions on how to make the chocolate ganache pattern on the top of the cake.
Place both pans in the oven, and add water to the larger pan – to about 1/2 way up the cheesecake pan. Be careful not to splash any water onto the cheesecake top.
Bake for 60 to 70 min, til the filling is set, and just the center is a bit “jiggly”. Allow to cool completely, then refrigerate overnight.
Add the chocolate ganache drip, if desired. Combine the chopped chocolate and heavy cream in a microwave safe bowl. Heat on high for 30 seconds til frothy but don’t boil – stir til melted and smooth. Heat another 10-20 seconds if needed. Pour into a plastic squirt bottle. Drip slowly around the edges of the cheesecake.
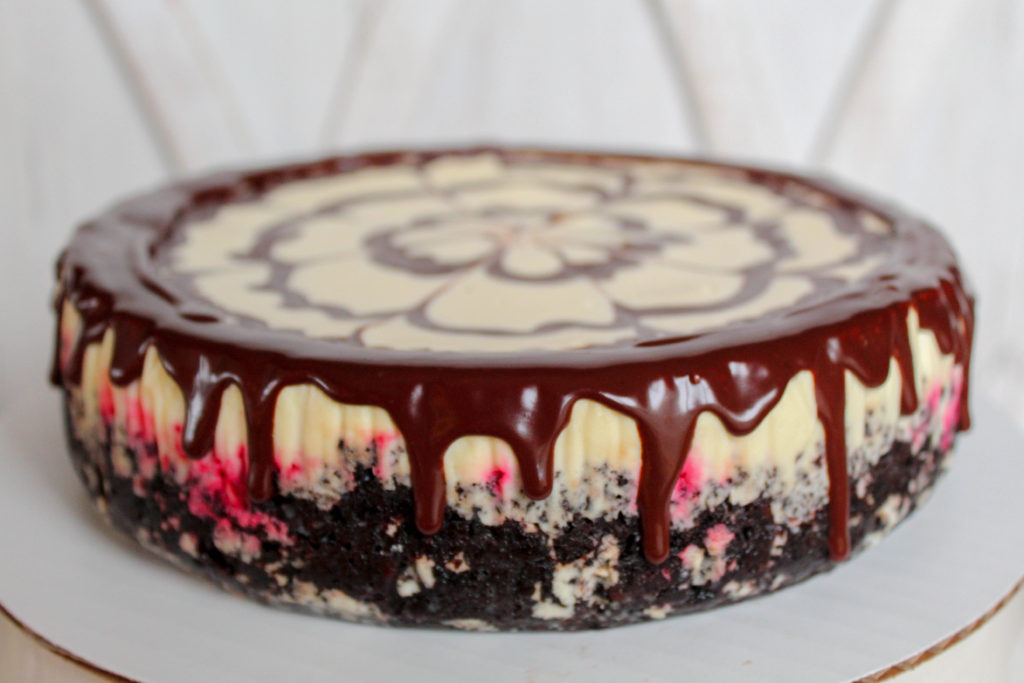
Prepare the mascarpone whipped topping. Add to a stand mixer bowl with a whisk attachment, heavy cream and sugar. Whip on high til stiff. Scrape down the sides. Add vanilla and blend. With mixer on med, add mascarpone cheese a spoonful at a time, til well blended. Add mixture to a piping bag with an open start tip. Pipe the cream around the edges of the cheesecake in your desired pattern.
Sprinkle with additional peppermint and chocolate chips.
This will keep in the refrigerator, in a cake container, for about a week (if it lasts that long!) Enjoy!
