Everyone that knows me knows that I bake all the time – but for Christmas, it’s all about cookies!! I typically start baking cookies after Thanksgiving, and store them in the freezer (or in the garage in tightly covered containers, if the weather stays cold). They will last right up to Christmas.
I love to make trays of assorted cookies for giving, and for my own holiday celebrations. This year I went with 5 different varieties. That’s a nice number to put together on a platter for an amazing cookie display.
Here is this years’ assortment!
- Christmas Sugar Cookies
- Kentucky Spice Cookies
- Almond Shortbread Cookies
- Chocolate Kiss Cookies
- Chocolate Peanut Butter Balls
You can find all of these on my website, except for the Chocolate Kiss Cookies. Have not posted that one yet, but you can find Peanut Butter Kiss Cookies on my site.

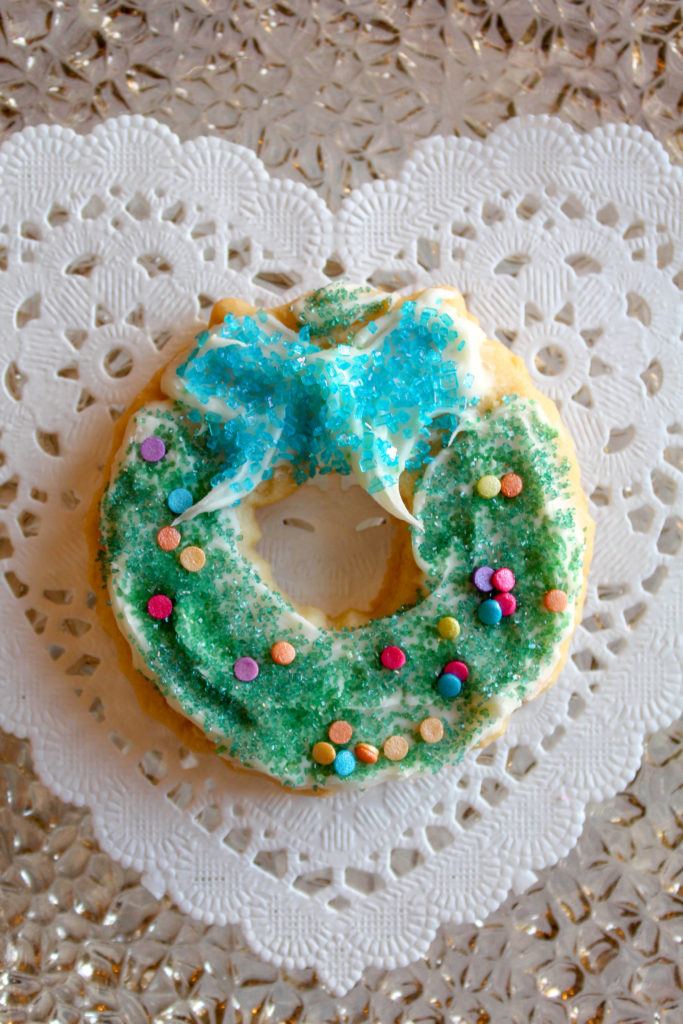
Any cookie tray at my house HAS TO include my Mom’s sugar cookies.
Now this year, I went back to my roots with these cookies. I have meticulously decorated them in past years, with royal icing, making them nothing short of BEAUTIFUL! It’s truly a painstaking process, although I enjoy it for sure. But each year, my kids still prefer their Grammy’s version! Her cookies were frosted with – dare I say – canned vanilla frosting, then decorated with assorted sprinkles. So this year, my goal was to make everyone happy with a cookie that means so much to all of us~
There is something both nostalgic, and heartwarming, about a cookie that really LOOKS homemade. The simplicity of this version really meets that mark. You can see the knife-marks made by spreading the frosting. No two look alike, but each one tastes just like a bite from my childhood.
SUGAR COOKIES
Here is the super simple recipe for these amazing sugar cookies:
(I almost always DOUBLE this recipe – a DOUBLED recipe will make about 30 cookies)
1/2 c unsalted butter (room temp)
1 c sugar
1/2 tsp vanilla
1 egg
Combine in a stand mixer, with a paddle attachment.
If you want to add food coloring to color the dough, do it now!
Then add:
2 c all-purpose flour
1 tsp baking powder
1/4 tsp salt
Combine til well-blended. Mixture will be firm, and form into a ball. You can chill the dough for use later, but I like to roll it out right away.
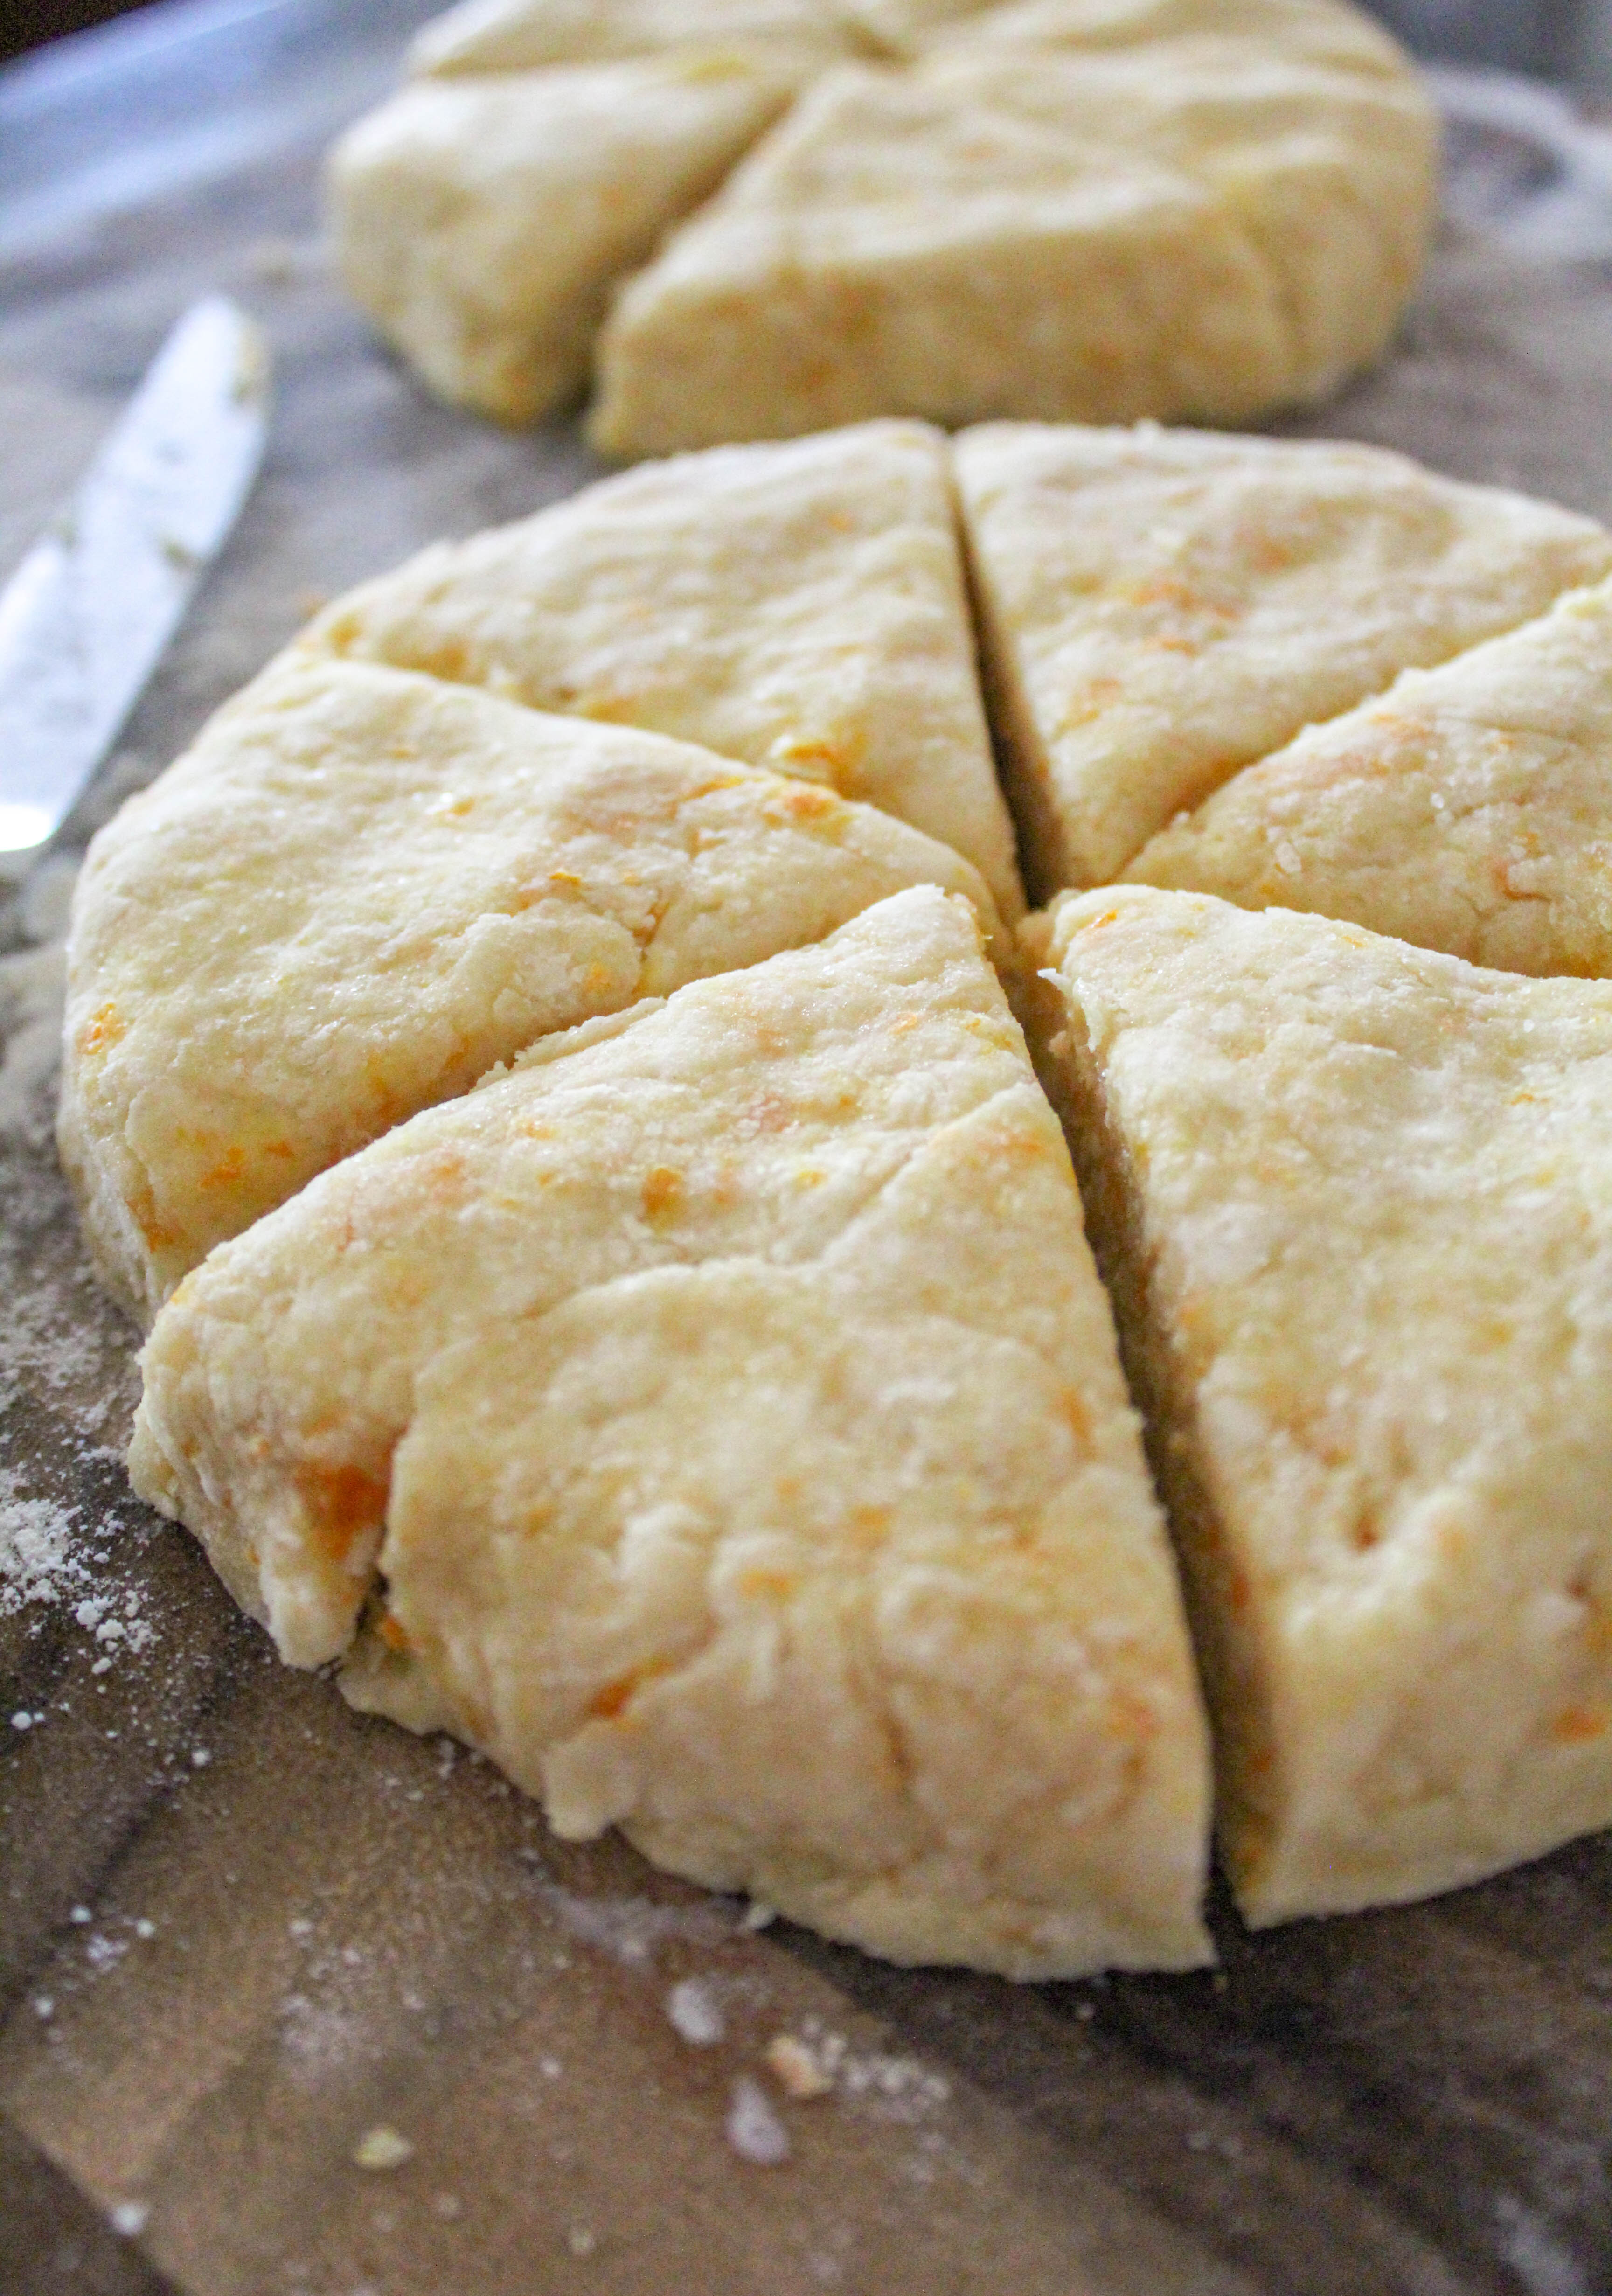
Roll out onto a floured surface, to about 1/4 ” thick (or maybe a little more)
Cut out desired cookie shapes, using cookie cutters.
Place onto parchment paper, on a cookie sheet.
Bake at 325 degrees, for about 8 – 10 min.
You DO NOT want to brown these cookies at all! Keep an eye on them, and remove from oven as soon as they are slightly browned on the bottom only!
This is very important, to achieve the best texture. This is not a “crisp” cookie, but rather a soft, chewy cookie. And did I say they are amazing??
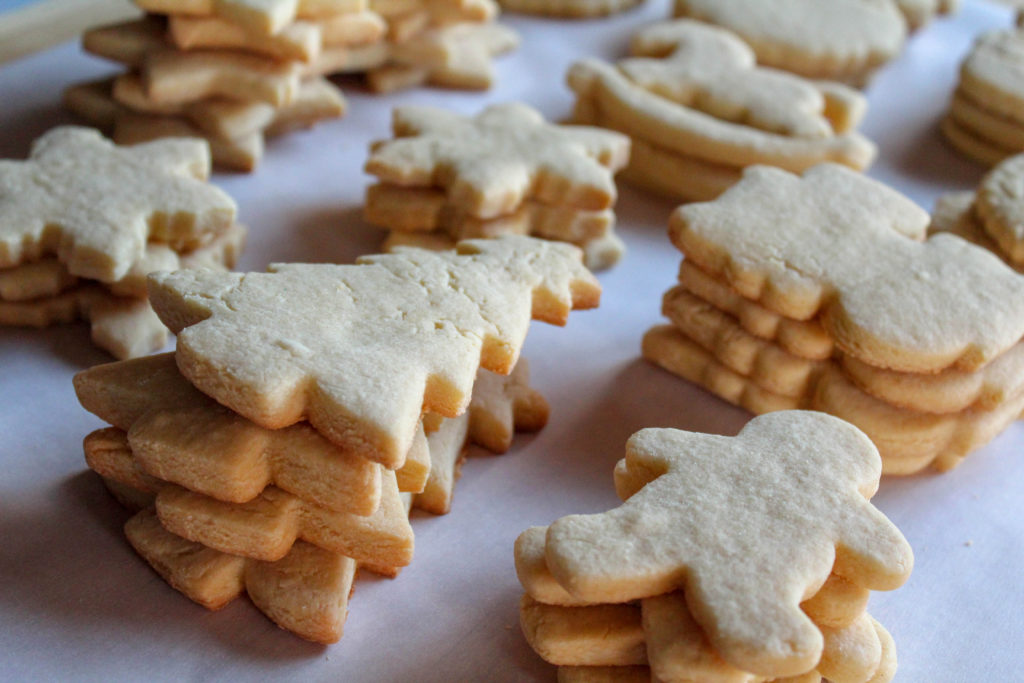


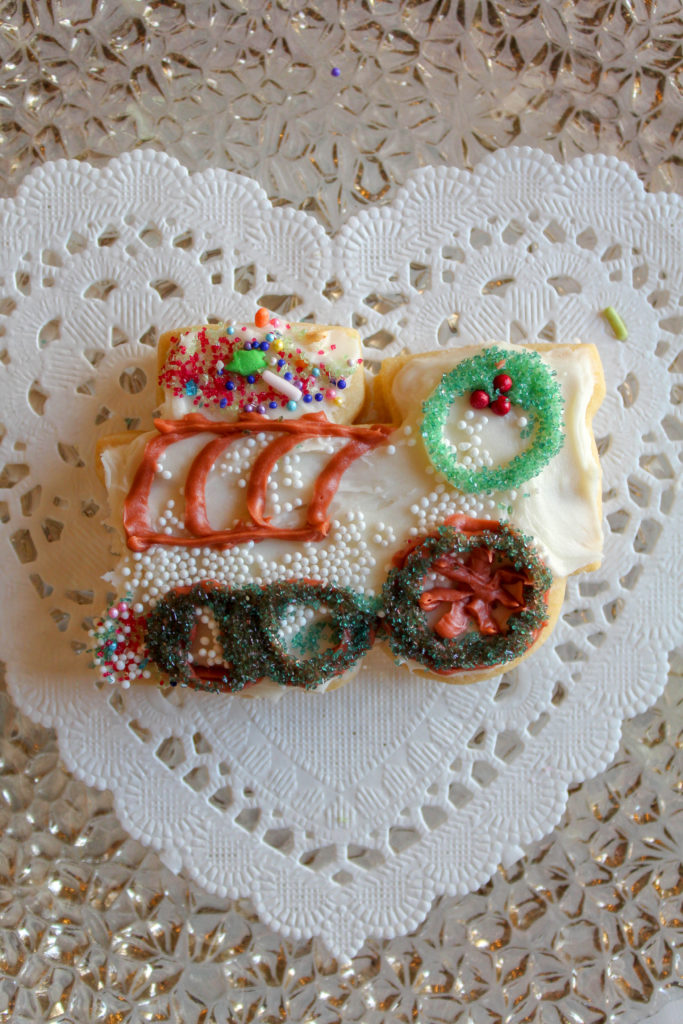


Here is how they all came together for our Christmas Cookie Platter.