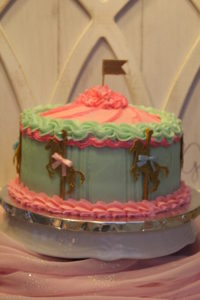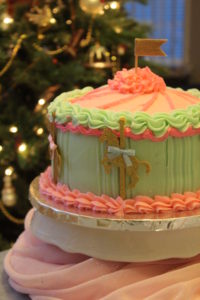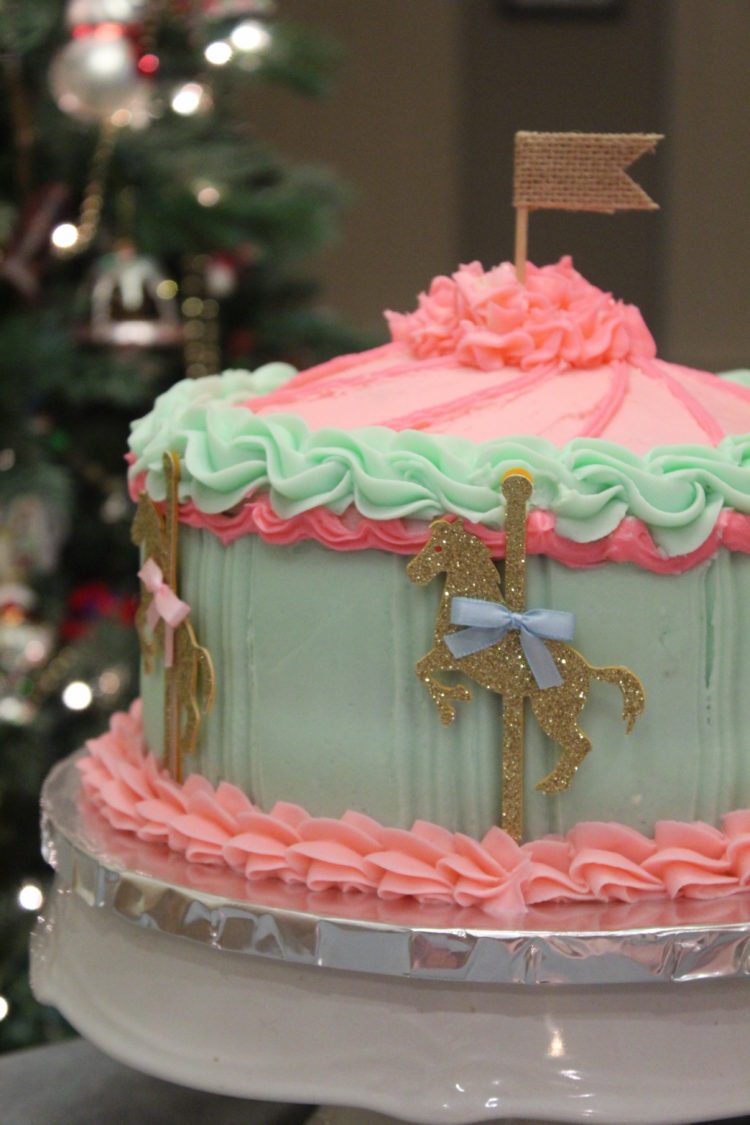
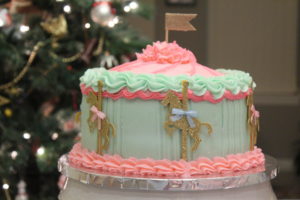
I recently came up with a cake to celebrate a baby shower at work. Not just a “baby shower” – but a “twin baby shower”!!! A boy and a girl are due in February! I set to work immediately, and decided on a carousel. What cuter way to celebrate 2 new babies! Everyone has memories of a carousel – they are whimsical, and bring out the “child” in all of us! Perfect! Pastel pink and mint green were my colors of choice for this carousel cake. I used a chocolate whipped cream filling, between 3 layers of my no-egg chocolate cake. I always wonder if the cake in my mind will actually turn out as beautifully as I imagine it – and this one certainly did!
You will need a few essential items:
1 10″ covered cake circle
revolving cake pedestle
offset spatula/counter scraper
piping bags
assorted piping tips
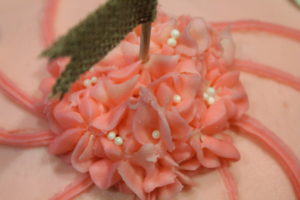
a small flag for the top (I found this at Hobby Lobby)
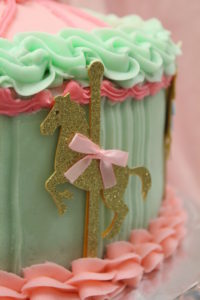
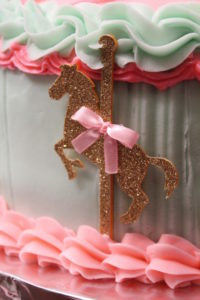
6 small paper carousel horses (ordered online at Etsy)
I prefer to make the cake layers the day before I decorate a cake. I keep them in the refrigerator or freezer tightly wrapped or covered, overnight. This always improves the moisture content. Then bring them out and allow them to come to room temp before decorating.
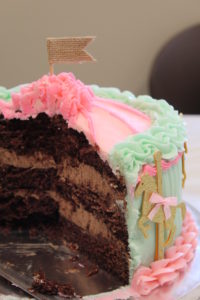
For this creation, I baked 3 – 9″ layers of my Mom’s no-egg chocolate cake, although your favorite chocolate cake will work as well. See my prior post: http://recipesinspiredbymom.com/chocolate-no-egg-cake/.
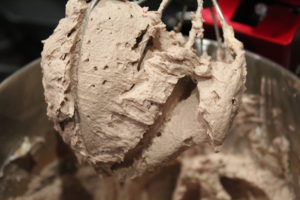
Chocolate whipped cream was a perfect, light filling for this cake.
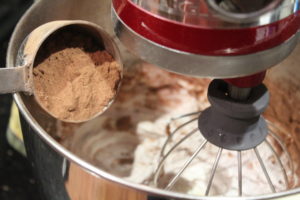
In a stand mixer, with a whisk attachment, beat 1 1/2 c heavy whipping cream. Slowly add 3/4 c granulated sugar, pinch of salt, and 1 tsp vanilla. Whip until stiff peaks form. Add 8 oz mascarpone cheese by spoonfuls, with mixer on medium. Once combined, add 1/2 c sifted cocoa powder, and beat just until combined, and chocolatey. Don’t over-whip.
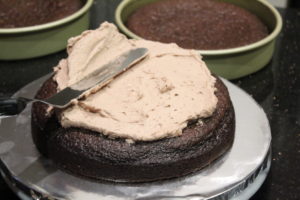
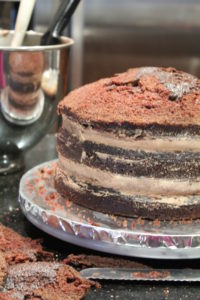
Place 1 cake layer on a 10″ cardboard cake circle. A revolving cake pedestle is a must for this cake! Top with 1/2 of the chocolate whipped cream and spread to the edges. Add the 2nd cake layer, and repeat with the remaining cream. Scrape the sides to remove excess cream. Refrigerate.
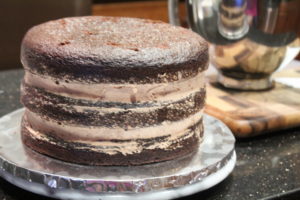
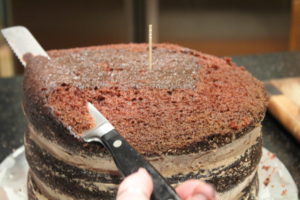
Trim the top layer, to create a peak for the top of the carousel. Use a long, sharp, serrated knife. Save the trimmings to create a nice rounded top.
Refrigerate while you make the frosting. Make 2 batches of my butter cream cheese frosting. Color 1 batch a pastel pink, and the other batch a light mint green.
Butter cream cheese frosting (1 batch)
1 – 8oz pkg cream cheese (room temp)
1 stick unsalted butter (room temp)
1 tsp vanilla
Whip using paddle attachment, until smooth. Add 4 cups confectioner’s sugar 1 cup at a time, blending well with each addition. Add food color of choice.
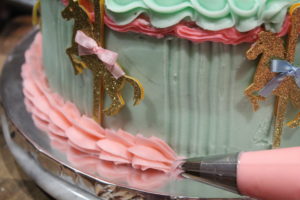
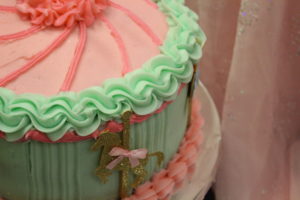
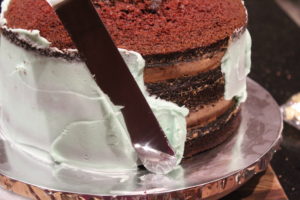
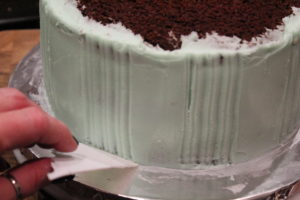
I chose the mint green for the sides of my cake. I added a crumb coat – then chilled the cake for 15 min. Then added another heavier layer, and scraped the sides with a counter scraper or offset spatula. I used a small frosting scraper to add some texture to the sides, scraping lightly up from the bottom, at regular intervals around the cake.
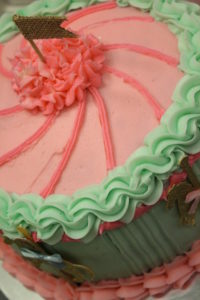
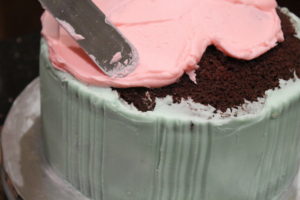
Then I frosted the top with pink frosting. You can scrape it smooth, or create a pattern using the offset spatula.

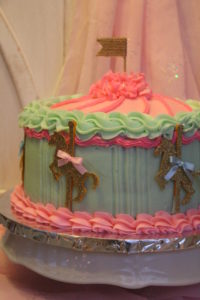
I piped on more frosting to complete my design. Then the best part – was the addition of the adorable little horses which I placed around the cake, then topped with a flag at the peak!