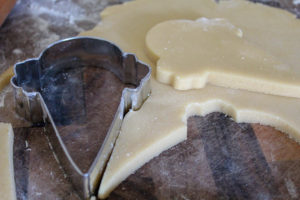
This cookie was inspired by a walk through one of my favorite little kitchen shops in Galena, Illinois – called the Grateful Gourmet.. I found an ice cream cone cookie cutter, and immediately began thinking about designing these little beauties. I have a fairly large collection of cookie cutters, but this is the first ice cream cone.
Of course, I would start with my Mom’s sugar cookie dough!
Here is the sugar cookie recipe:
Sugar Cookie recipe: 5″ size cutter, made 22 cookies.
1 c unsalted butter (room temp)
2 c sugar
1 tsp vanilla
2 eggs
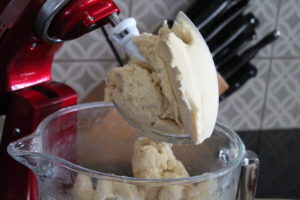
Combine in a stand mixer, with a paddle attachment.
Then add gradually:
4 c all-purpose flour
2 tsp baking powder
1/2 tsp salt
Combine til well-blended. Mixture will be firm, and form into a ball.
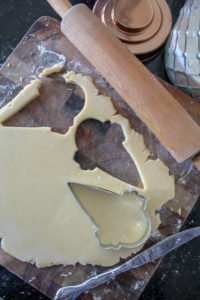
Roll out onto a floured surface, to about 3/8″ to 1/2″ thick. I like these fairly thick. Cut out desired cookie shapes, using cookie cutters.
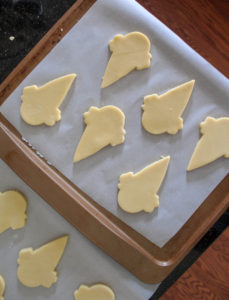
Place cookies onto parchment paper, on a cookie sheet. Bake at 325 degrees, for about 8 – 10 min.
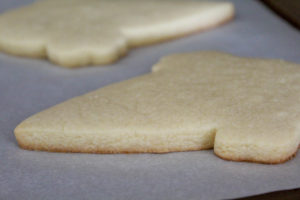
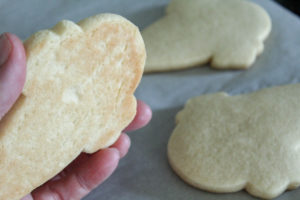
You DO NOT want to brown these cookies at all! Keep an eye on them, and remove from oven as soon as they are slightly browned on the bottom only! This is very important, to achieve the best texture. This is not a “crisp” cookie, but rather a soft, chewy cookie. And did I say they are amazing?? Cool completely.
For this design, I made a batch of royal icing. This will dry to a smooth, hard finish, and seal the cookie nicely.
Royal icing recipe:
4 Tbsp Meringue powder (available at Michael’s Craft Store)
1/2 c water
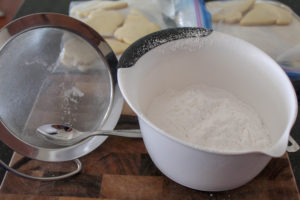
4 c SIFTED powdered sugar (sifting is very important to avoid small lumps)
1 tsp light corn syrup (for shine)
1 tsp almond extract (optional)
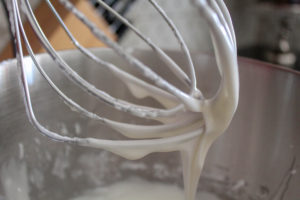
Combine meringue powder and water in a stand mixer bowl, with a whisk attachment. Whisk on med speed until foamy and blended.
Add sifted powdered sugar slowly til combined, and smooth. Add corn syrup and flavoring. Increase speed to high, and beat for about 3 min, til glossy and stiff peaks form.
Divide icing into several small bowls, and add small amounts of your desired paste food colors. I use a toothpick for this. Keep the bowls covered with plastic wrap til ready to use. This thicker icing is used for outlining, or making fine details. *Add water by the teaspoon and stir, to thin out the icing for “flooding” the cookies.
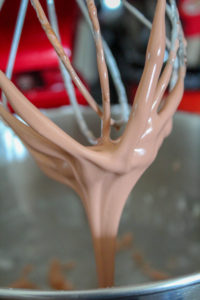
I made a nice “light chocolate” color for my sugar cones, using a Chocolate Brown food color.
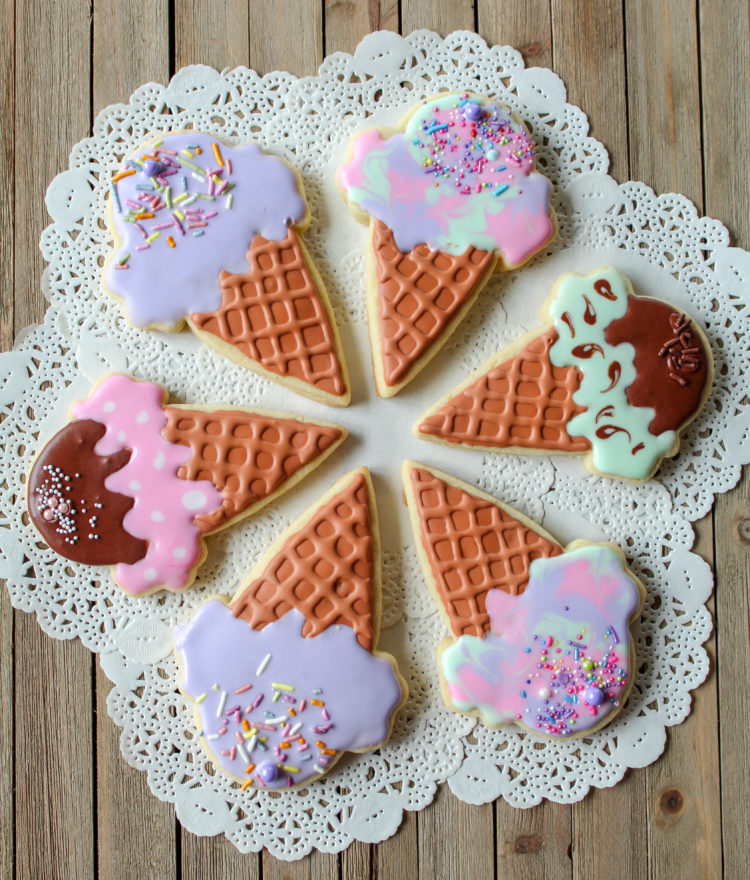
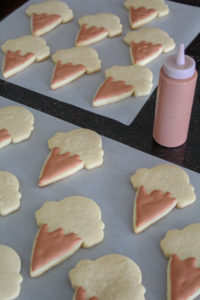
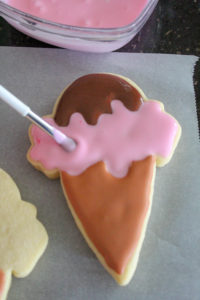
Now it’s time for the fun part – decorating! I used plastic bottles from the craft store, for outlining and flooding the cones. A small craft brush can be used to spread the icing as well. I allowed these to dry, then went back over them to create the waffle pattern.
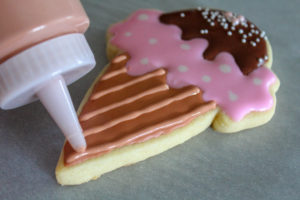
I used a small craft brush to fill in the smaller areas – it’s just like “painting” on the frosting!

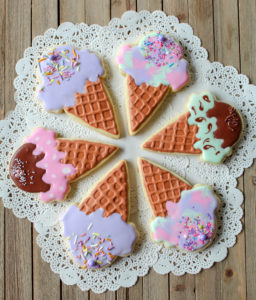
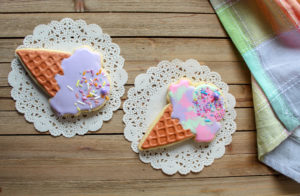
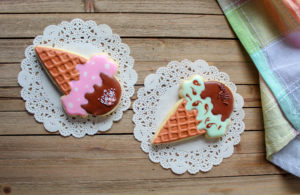
Here are a few of my design ideas – using some sprinkles, and sixlets for decorations. A variety of ice cream cones looks so pretty on a plate! Allow these to dry completely for several hours, before stacking them. They can be frozen for up to 3 mo, tightly wrapped.


2 Comments