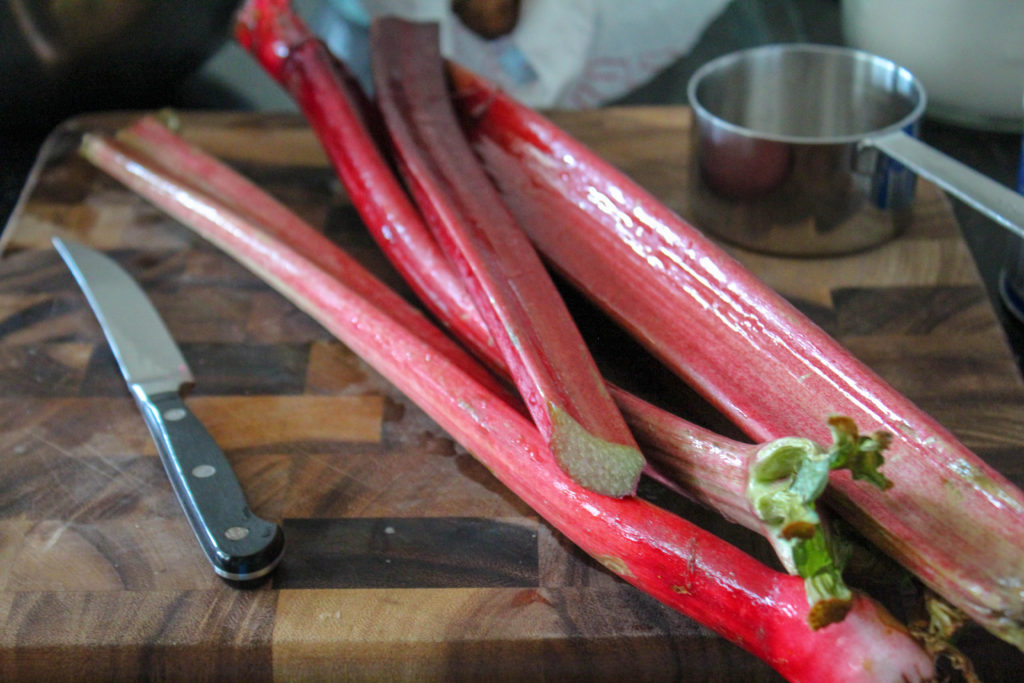
The first time I ever experienced rhubarb, was in its raw form. Surprisingly, it is not a fruit at all, but rather a vegetable. It’s often mistaken for a fruit, since it is used in cobblers, pies, and jams. The texture is very much like a celery stalk – it’s firm, and crunchy, and of course like celery, it’s a bit “stringy” when eaten raw. It has a VERY tart taste, so to make it more palatable, it is best dipped in sugar when eating it raw.
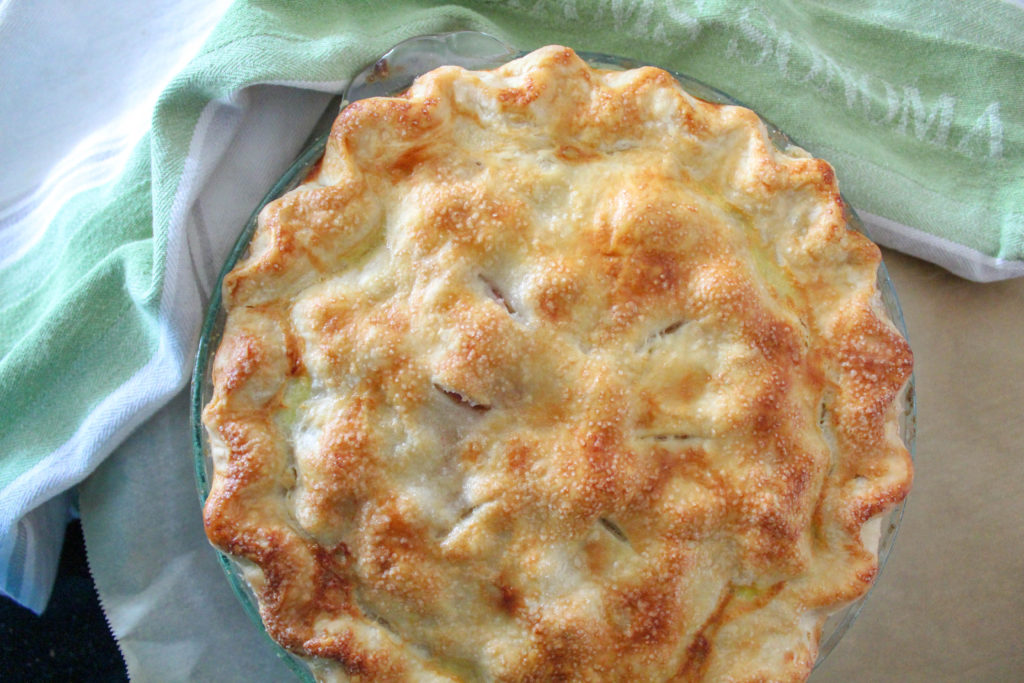
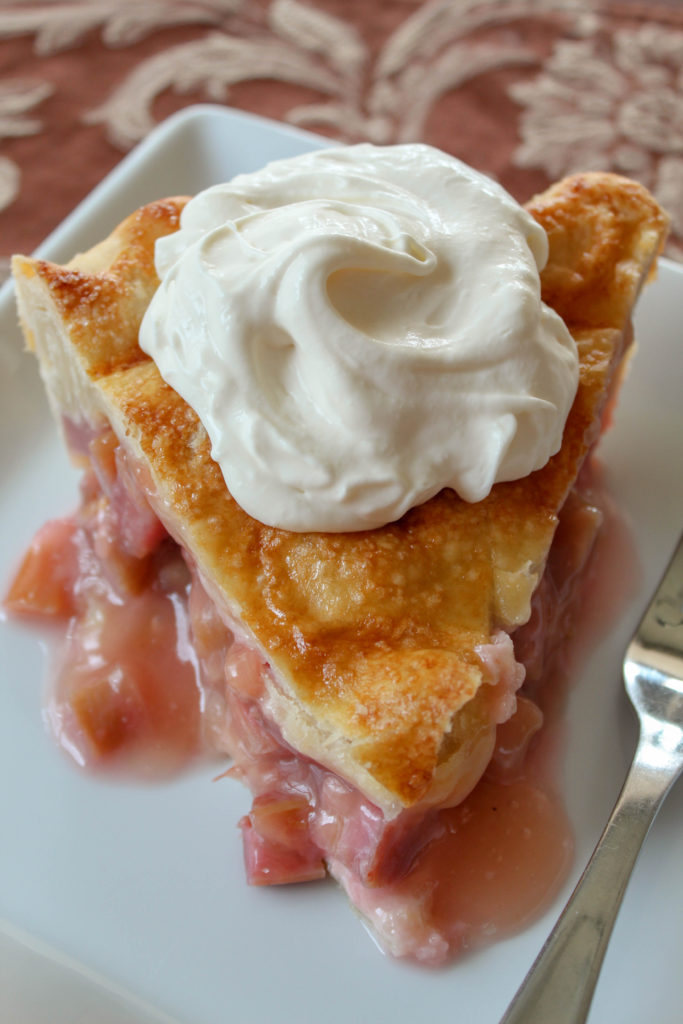
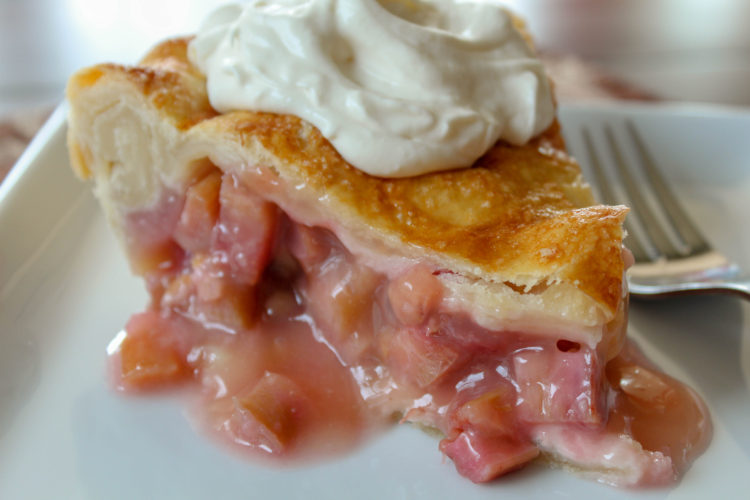
But made into a pie?? Well, that’s a whole different story! When cooked down, rhubarb softens and produces an amazing amount of juice for a pie. This needs to be thickened, with the use of flour and/or cornstarch. What is key for a perfect sauce in this pie, is to allow the thickening agents to reach a boiling point inside of the pie. You will know this has happened, when you can see a thick sauce bubbling up through the slits in the top crust. Without seeing this, your pie may have a very “liquidy” juice, rather than a thick sauce (still delicious mind you – just a bit runny). Give it enough time for this process to occur.
Fresh rhubarb is available in the summer months locally. It does freeze well, or you can buy frozen rhubarb in some local stores.
Rhubarb is actually rather healthy for you – it’s low in calories, and high in antioxidants. When made into a pie, however, the calorie count goes up substantially! But it’s delicious non the less, and my favorite way to eat rhubarb for sure. You can adjust the amount of sugar to your taste, but a truly delicious rhubarb pie needs to have a balance of both tart and sweet.
Adding fresh strawberries to the pie will add some natural sweetness, so in this case reducing the sugar is a good idea. Experiment, and see how you like your rhubarb pie!
FRESH RHUBARB PIE RECIPE (makes 1 – 9″ pie)
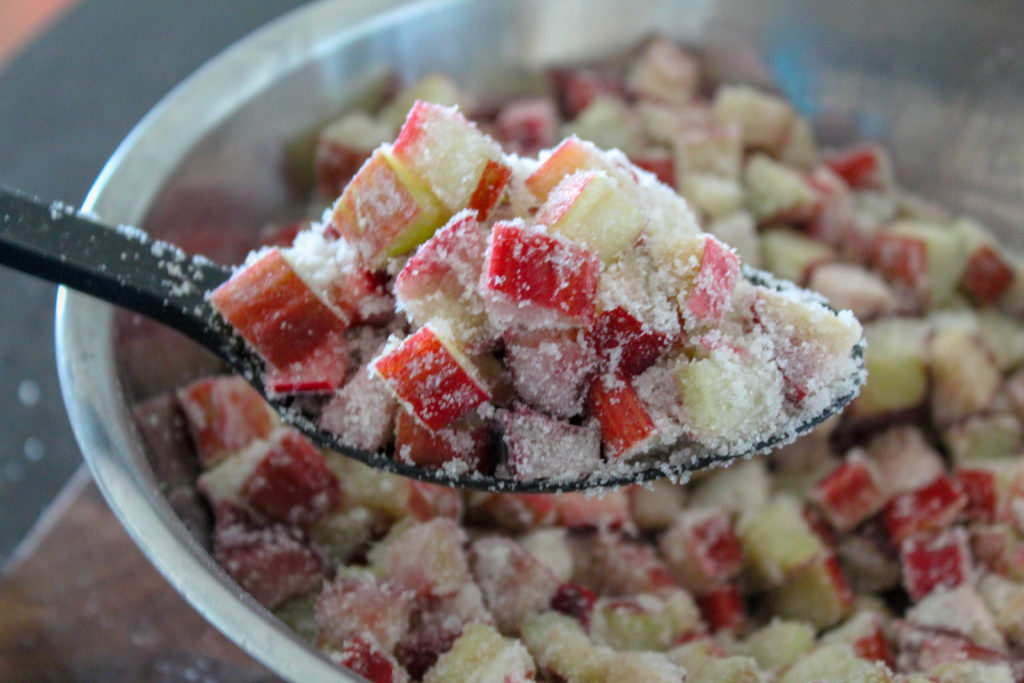
6 c chopped rhubarb (1/2″ to 1″ pieces) (Optionally can use 4 c rhubarb, and 2 c sliced strawberries).
4 T all purpose flour( or 4 T corn starch)
1/4 tsp salt
1 1/2 c granulated sugar (reduce if adding strawberries)
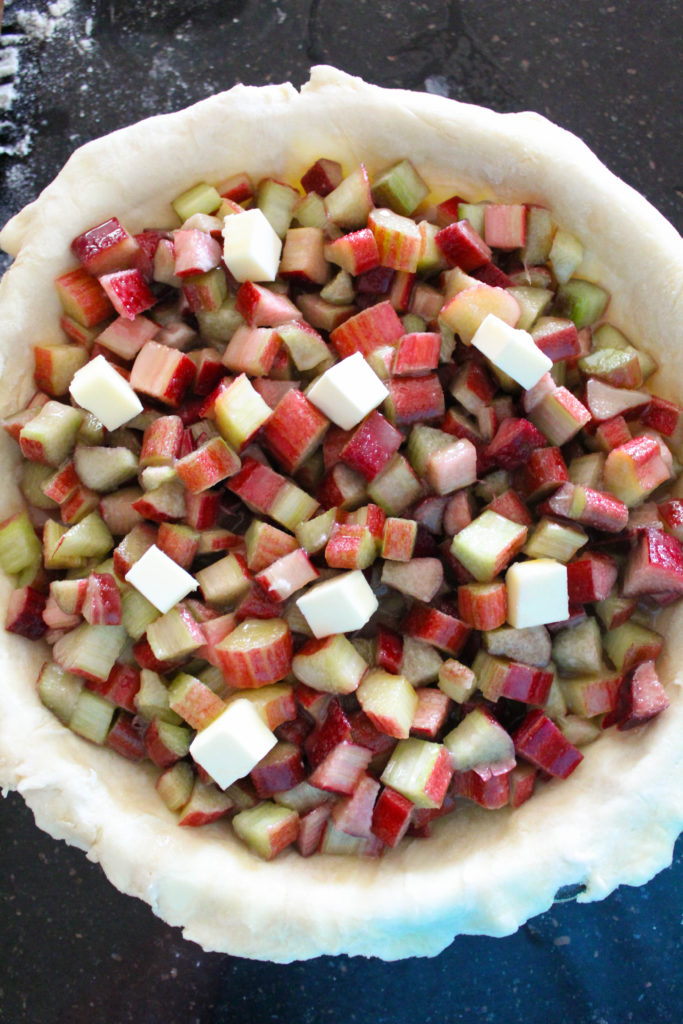
2 T butter (cut into pieces, for the top of the pie)
1 egg beaten with a little water (to brush on the top pie crust)
coarse sugar (to sprinkle on top)
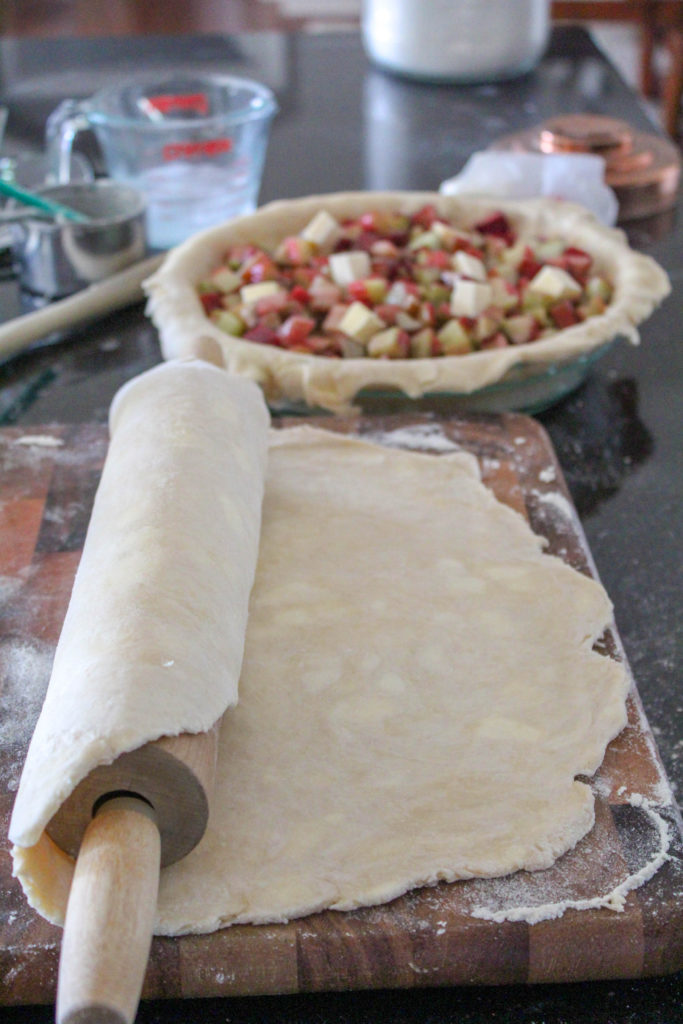
Combine the rhubarb, strawberries if using, flour or cornstarch, salt, and sugar. Stir to combine. Set aside.
A homemade pie crust is always best, and there are lots of recipes out there. You can use a store bought double crust if you prefer. Here is my favorite pie crust recipe:
HOMEMADE PIE CRUST (for a double crust pie).
Preheat oven to 425 degrees.
Ingredients:
1 stick unsalted butter, very cold, cut into small chunks
1/2 c vegetable shortening
2 1/2 c all purpose flour, plus extra for rolling out
dash of salt
1 c ice water
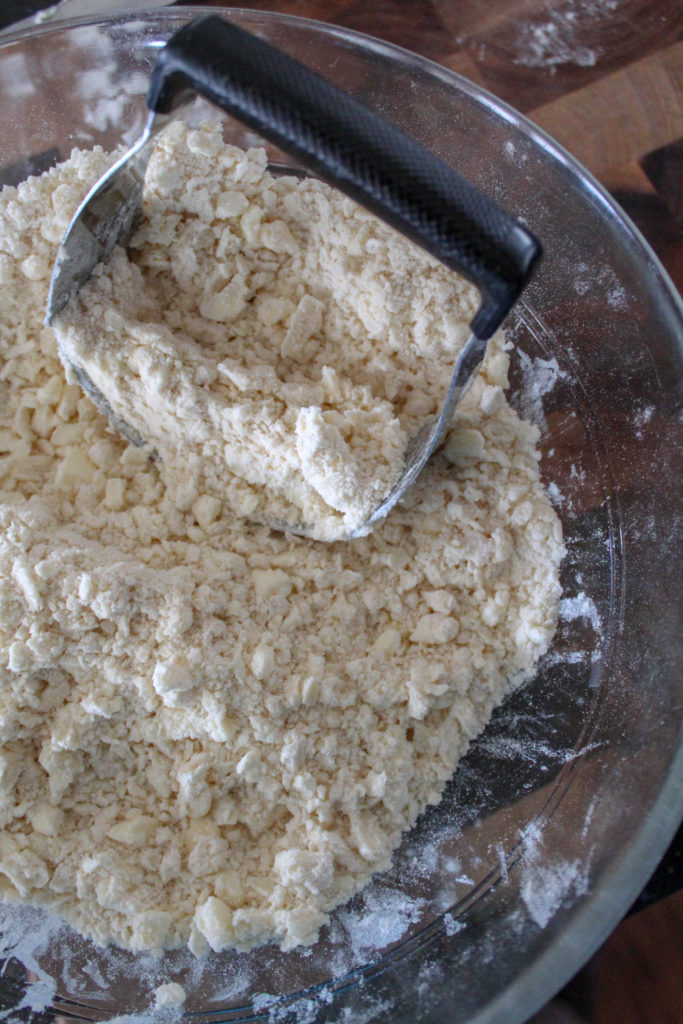
Combine butter, shortening, flour and salt into a large bowl. Cut together using a pastry cutter, until you have a coarse mixture.
Add ice water slowly, mixing the dough together with a rubber spatula. Continue to add water, until the mixture comes together. You may or may not use the entire cup of water, so pay attention to the texture. If it seems too wet, add a bit more flour, If too crumbly, add a bit more water.
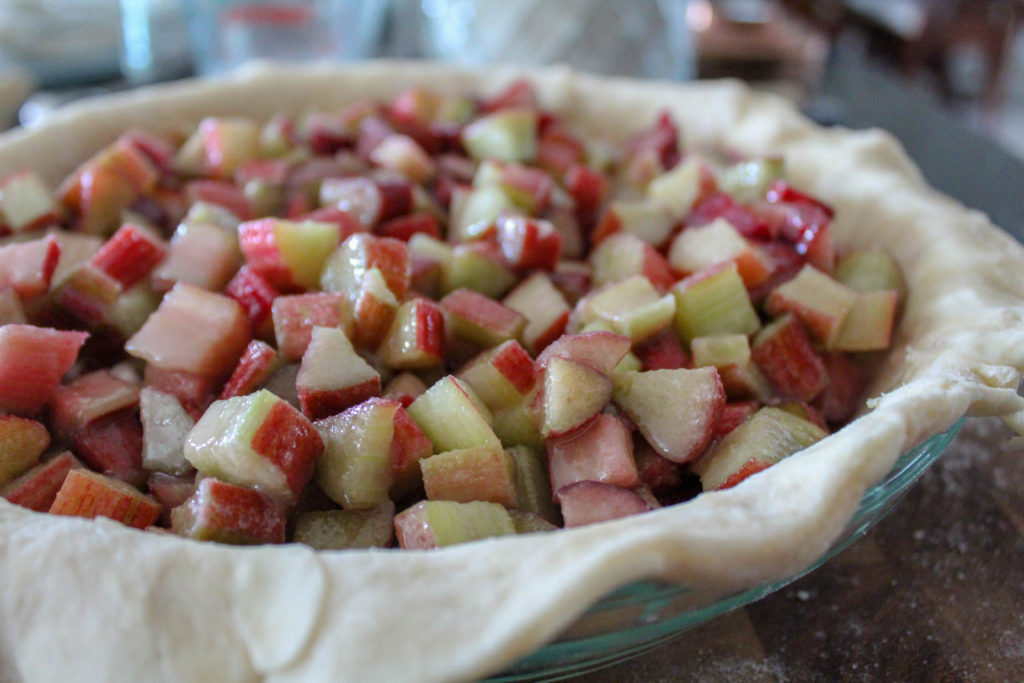
Cut the dough in 1/2. Roll out one half on a generously floured cutting board, to about 13″ around, and 1/4″ thick. Place dough into a 9″ pie pan. Dough should hang slightly over the edges. Pour fruit filling into the prepared pie pan. Dot with the remaining chunks of butter.
Roll out the remaining dough to a 13″ circle.
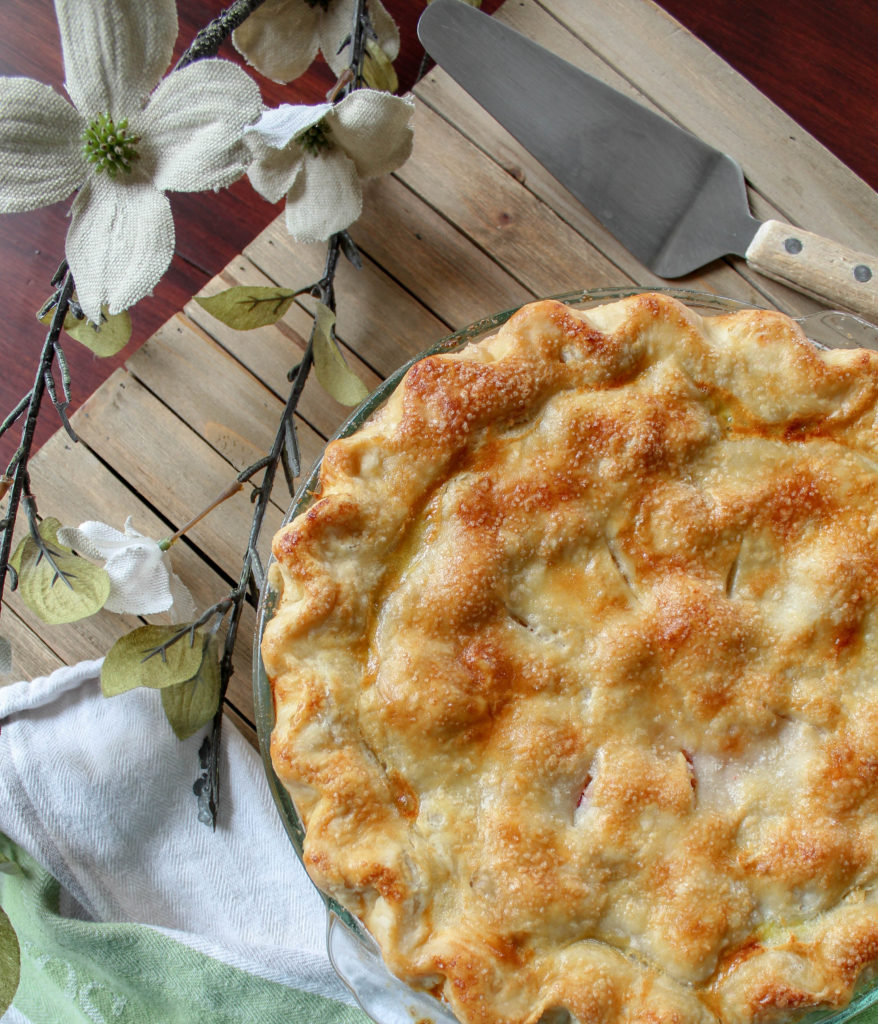
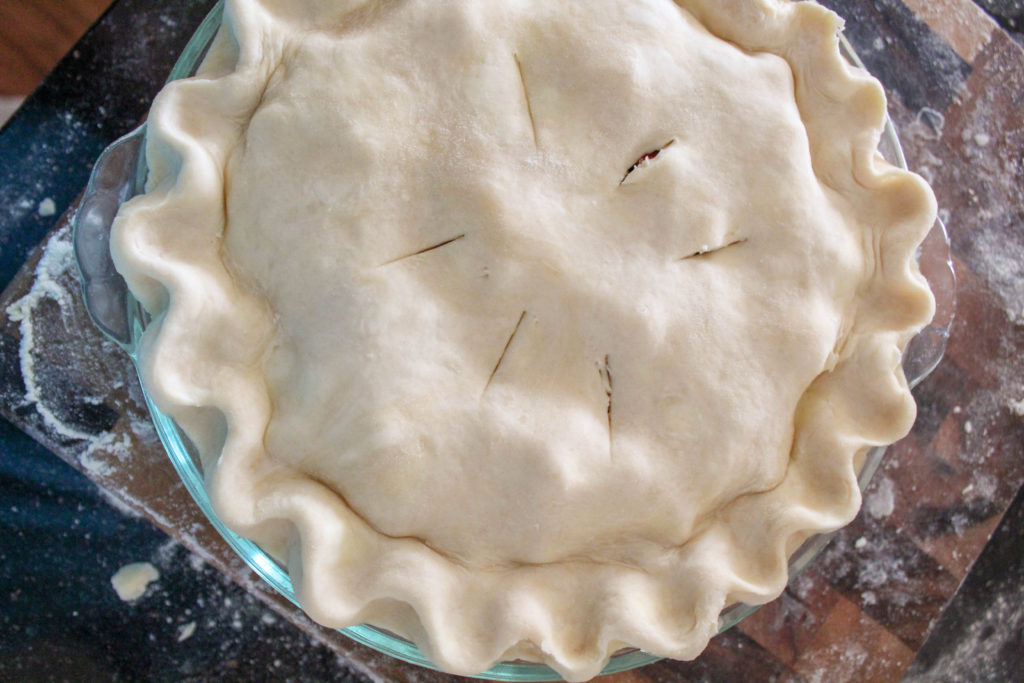
Dab a little water around the edge of the bottom crust, to help it stick to the top crust. Place the top crust on the pie. Trim the excess dough, and “crimp” edges together. Cut several steam vents in the top using a knife. Brush with egg wash. Sprinkle with coarse sugar.
Place pie on a baking sheet with 1″ sides, lined with parchment. Bake at 425 degrees for 20 min, in center of the oven. Lower oven temp to 375 degrees, and bake another 35 – 45 min. Check for browning, and lightly cover with foil it it looks like it’s browning too quickly. Watch for the thickened juices to start bubbling up through the vent holes – that will mean it’s done!
Allow to cool completely before cutting.