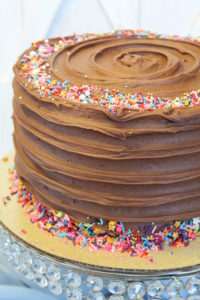
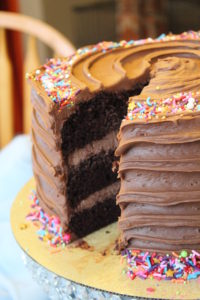
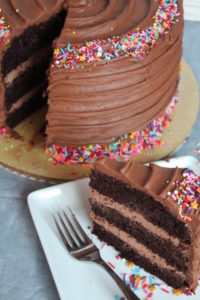
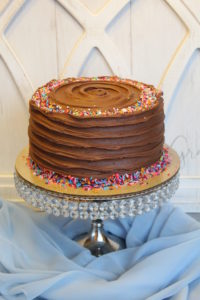
This is my “Moment of Joy” Chocolate Cake with chocolate whipped cream filling!! That’s what I will be serving tomorrow, when my family gets together for our “belated” Thanksgiving dinner. My “moments of joy” are a celebration of the little things in my life, that make me truly happy! Being with family and friends, and watching my children and now grand children grow. Becoming not only a nurse – but an infertility nurse – which has enabled me to bring true “moments of joy” to so many others.
I find so many moments of joy in my own kitchen! You can usually find me there cooking or baking for family, friends, neighbors, co-workers – anyone that needs a moment to celebrate in their own life! What better way to celebrate than with this chocolate cake, filled with chocolate whipped cream! It’s simple AND elegant! Most of all, it comes from my heart!
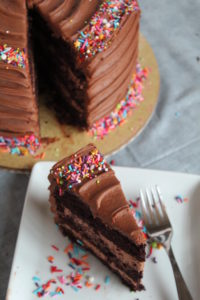
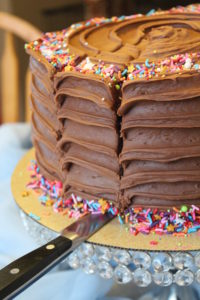
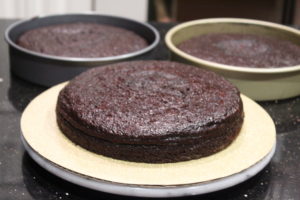
This cake starts with 3 – 9″ layers of chocolate cake., although you could make it with 2 layers as well. I use Hershey’s Perfect Chocolate Cake. The taste and texture are unbeatable!
If you have never made Chocolate whipped cream – YOU MUST! It is amazing, and makes such a nice light filling for a cake. The cocoa powder really helps to stabilize the whipped cream.
Chocolate whipped cream filling:
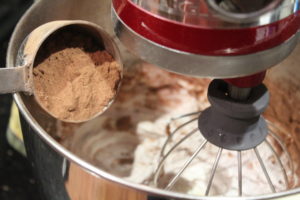
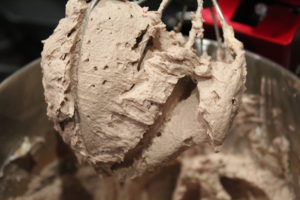
In a stand mixer, with a whisk attachment, beat 1 1/2 c heavy whipping cream. Slowly add 3/4 c granulated sugar, pinch of salt, and 1 tsp vanilla. Whip until stiff peaks form. Add 8 oz mascarpone cheese by spoonfuls, with mixer on medium. Once combined, add 1/2 c cocoa powder, and beat just until combined, and chocolatey. Don’t over-whip.
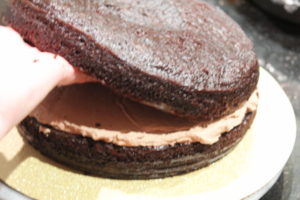
Place 1 cake layer onto a 10″ cake circle. Top with 1/2 of the chocolate whipped cream. Spread to the edges. Top with a 2nd layer, and top with remaining cream. Top with 3rd cake layer. Smooth edges with an offset spatula.
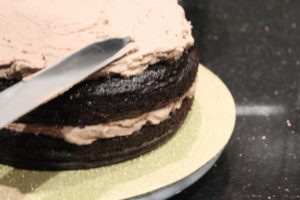
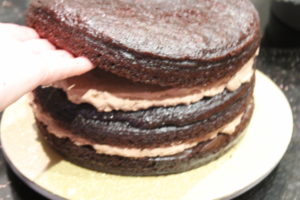
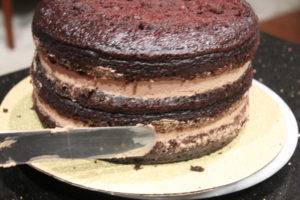
Refrigerate cake.
Make the frosting – my chocolate butter cream cheese frosting
3/4 cup butter (room temp)
12 oz cream cheese (room temp)
5 1/4 c powdered sugar
3/4 c cocoa powder
1 1/2 tsp vanilla extract
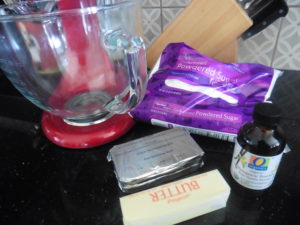
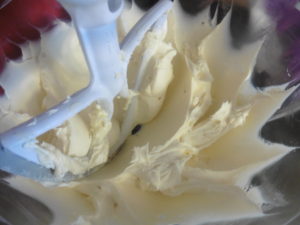
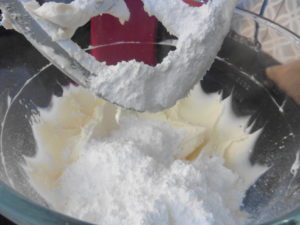
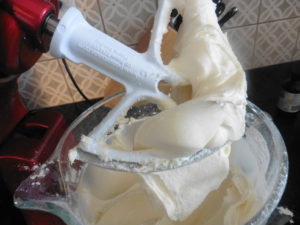
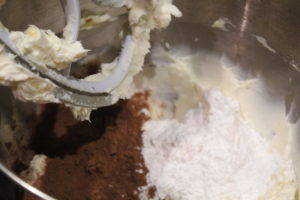
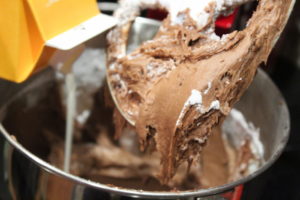
Add butter, cream cheese, and flavoring to a stand mixing bowl, with a paddle attachment. Mix on medium speed until very smooth. Add powdered sugar, 1 cup at a time. Start the mixer on LOW (you can even pulse it a few times, to incorporate the sugar into the creamed mixture, to avoid the sugar going all over you and the counter!) Add cocoa powder. Mix on med – med high, til well-blended. You may need to add a few Tbsp of heavy cream, as the mixture will become stiff – it needs to be of spreading consistency. So add a bit of cream, then blend again.
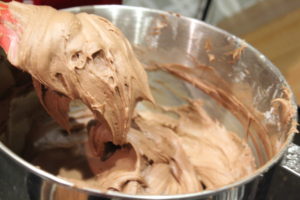
Using an off-set spatula, spread a thin “crumb coat” of frosting all over cake, and refrigerate again.
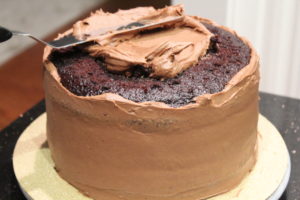
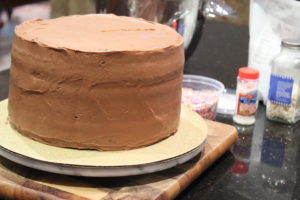
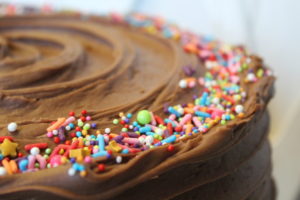
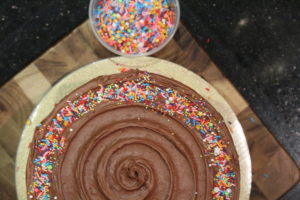
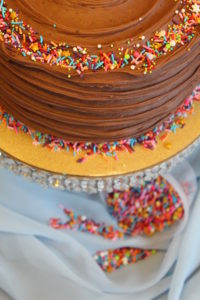
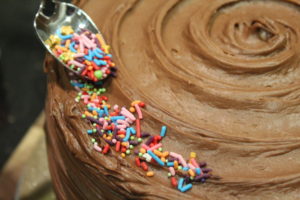
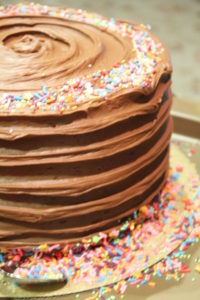
Spread another thicker coat of frosting over cake. You will need a rotating cake pedestle for this next step. Starting at the bottom, using the back of a spoon, circle the cake while spinning the pedestle. Move up the cake, then around the outside edges of the top, and end in the center.
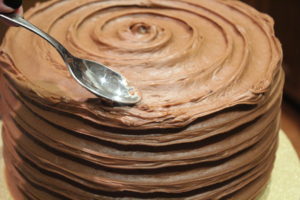
Add sprinkles to the top and bottom edges, to complete this cake design.
Refrigerate for several hours. This will last covered in the refrigerator for up to a week. Share your moment of joy!
