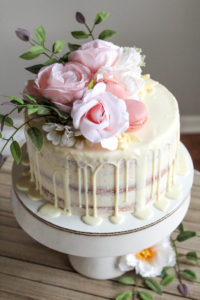
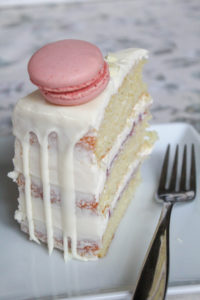
I created this cake for my food photography class this week. I wanted to make both a delicious interior, and a stunning, photo-worthy exterior! I started with 3 – 8″ layers of vanilla cake. I used my favorite King Arthur’s Golden Vanilla Cake mix, split evenly into 3 pans. I cooled these completely. This cake makes nice flat layers, but if your cakes have rounded tops, you will need to level them with a serrated knife.
When I start a cake project, I like to plan it out over several days. I spend this time deciding on the flavors, and the design. A color palate is essential, and for this cake – I spent time at my local Hobby Lobby in the floral dept, picking my colors!
I typically bake the cakes 2 days before the event, then cover and refrigerate overnight. Then I frost and decorate the cake 1 day before the event. It sits in the refrigerator until the day of the event, when it’s time to photograph, then eat my masterpiece!!
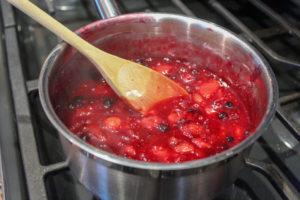
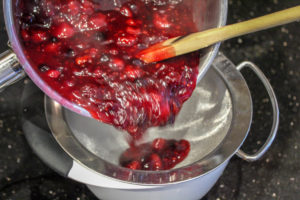
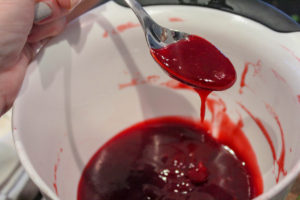
I made my own triple berry jam, using about 1 1/2 c frozen mixed berries, 1/4 c water, 3/4 c sugar, and 3 Tbsp corn starch. I cooked this down in a small sauce pan, stirring over low heat til thickened, about 8-10 min. (if it gets too thick, just add a little more water 1 Tbsp at a time). Strain this using a fine mesh strainer over a bowl, pressing berries firmly using a rubber spatula, and chill the smooth jam. It should thicken like jam as it cools.
Whip the mascarpone whipped topping next. Into a stand mixer using a whisk attachment, I combined 1 1/2 c cold, heavy cream, 3/4 c powdered sugar, 1 tsp vanilla, and whipped til stiff. Then I added by spoonfuls, with mixer on med – 8 oz mascarpone cream cheese. Whip til well-blended, but don’t over-whip. Chill.
Mix up a batch of my cream cheese buttercream frosting.
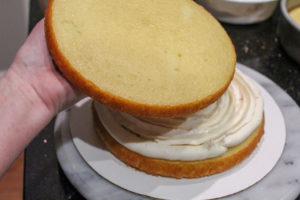
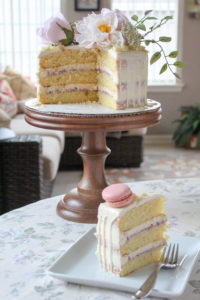
Now it’s assembly time! Place 1 cake layer onto a cardboard cake round, and place onto a revolving cake pedestle. Use a piping bag, and a large round tip, pipe a ring of frosting around the outside of the cake layer. This will help contain the fillings.
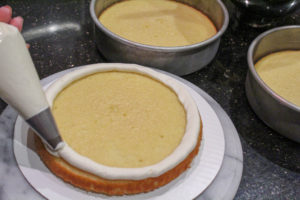
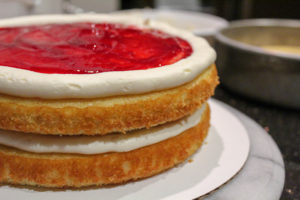
Then top with some of the berry jam.
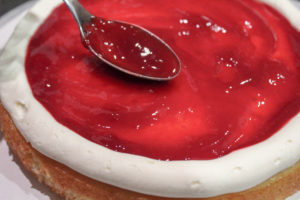
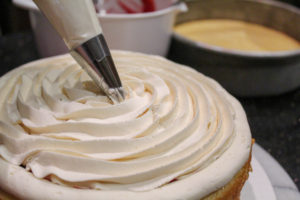
Fill another piping bag with the whipped topping, using either a round or open star tip. Pipe over the berry jam to cover completely.
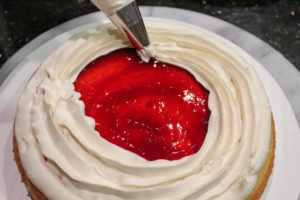
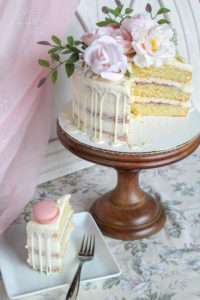
Cover with another cake layer, and press down firmly. Repeat the process until you have 3 layers stacked.
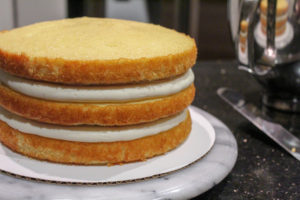
Refrigerate cake for 20 min.
Frost with a crumb coat, scraping the sides of the cake. Frost and smooth the top, using an offset spatula. Refrigerate for 20 min.
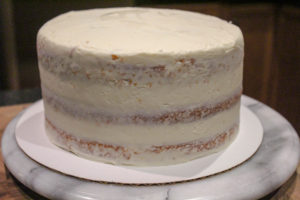
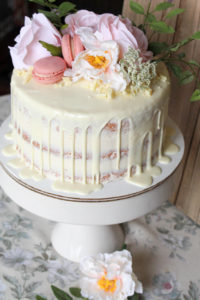
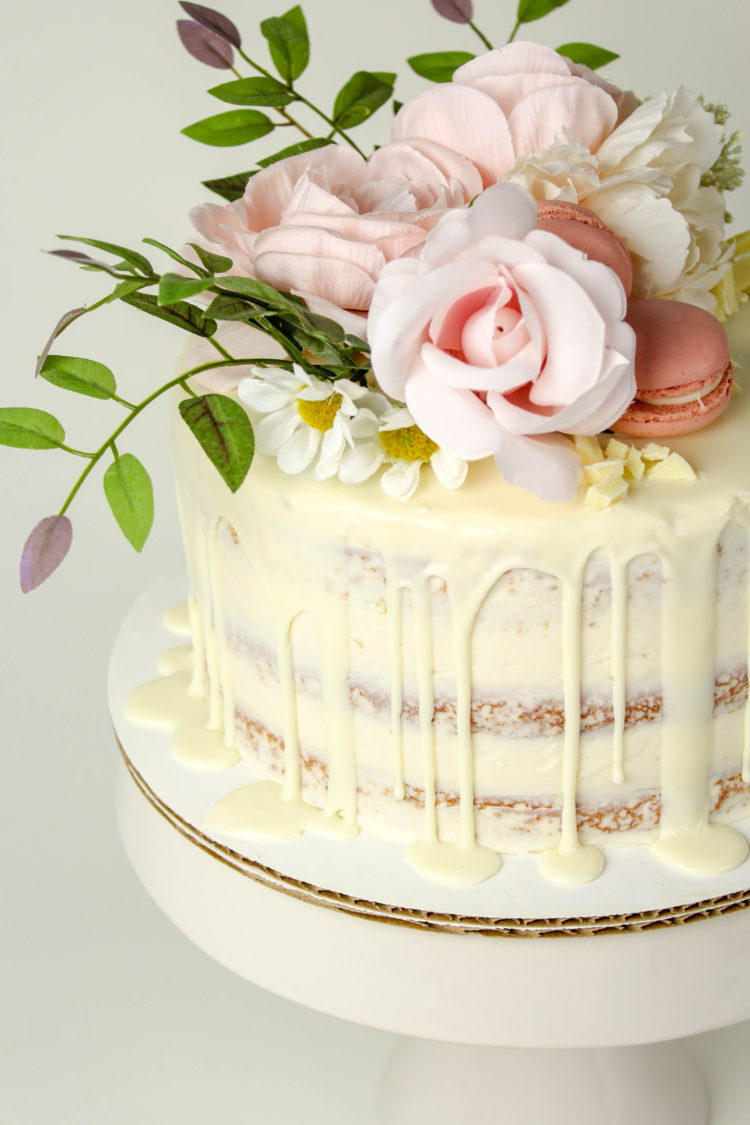
I added a white chocolate drip topping to my cake. Heat 1/4 c heavy cream in the microwave til steaming, not boiling. Pour this over 1/2 c white chocolate chips, and stir til melted. Texture is everything here – as the texture will determine how fast the drips run down the cake. It should be smooth, and about the texture of chocolate ganache. You can reheat to thin it out, or add a little more cream. You can let it cool to thicken. I like to add some pure white food coloring, to brighten this up a bit. Then pour the mixture into a plastic bottle with a tip (I cut the tip open a bit more) to drip this around the top, controlling the drips. You can use a spoon instead if you prefer. Then fill in the top and smooth with an offset spatula. Chill.
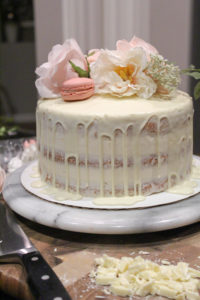
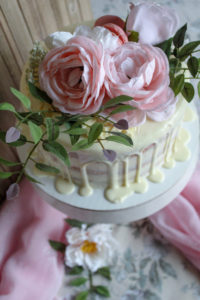
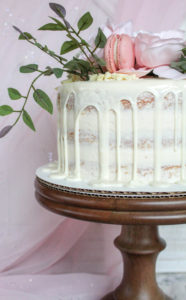
Now it’s time to add artificial flowers, leaves, chopped white chocolate, and macarons!! Have fun with this, but have a plan in mind. Set up your arrangement on your cutting board before adding each piece to the cake top. Somehow I just know when it’s done. You definitely don’t want to overdo the design. Look at it from all sides. Less is more – even with cakes!

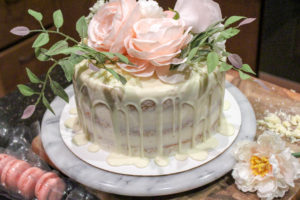
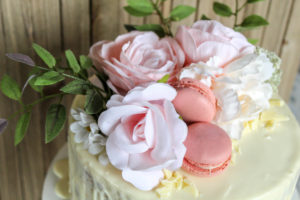
Now this is a showstopper!



One Comment