Cinnamon/applesauce Christmas ornaments – I started making these adorable and simple “cookie cutter” ornaments over 30 years ago – when my babies were – well – “babies”!! You might think this non-food post is a bit odd for a “food blog” – but these ornaments are actually made with a recipe, and real food ingredients. JUST 2 INGREDIENTS! So I think it qualifies for my blog, especially since I have always had a warm place in my heart for both food and crafts! I sold hundreds of these in craft shows over the years, and they always drew a crowd.
I still have a small collection of the original ornaments I made with my BFF Lisa in Ohio in 1988. Believe it or not, they still retain a mild smell of cinnamon after all these years! When they are made fresh, the cinnamon aroma is unbelievable, and will make your tree smell heavenly for years! The best thing about these ornaments, is that they actually LOOK like cookies! They are NOT, however, edible. We delivered a batch of these to a nursing home when my daughter was a Girl Scout. As we were passing them out, we turned to see one of the residents getting ready to take a bite out of one! That’s how “real” they look!
Here are a few pics of my 30 year old ornaments:


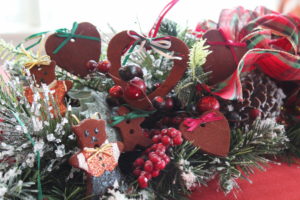
As you see, they can be as simple, or as ornate as you want to make them! The easiest way to make them for sure is just using a plain cookie cutter, then add a bow, and ribbon to hang it. I used fabric paint for the little bears, then a little glitter for bling, and a bow.
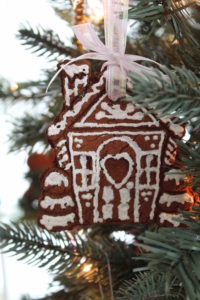
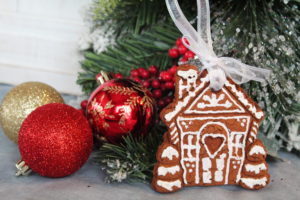
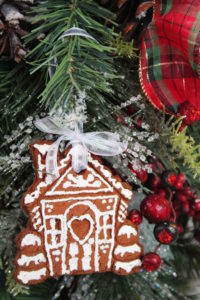
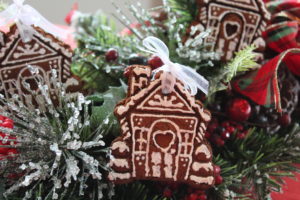
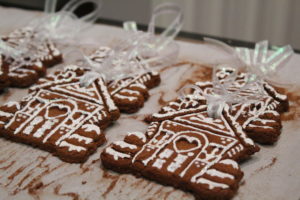
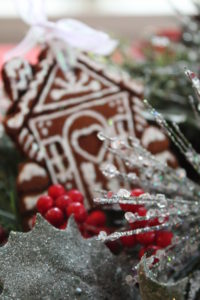
I was excited to make a new batch this year, especially when I picked up a new gingerbread house cutter. I used this in a recent post for EDIBLE gingerbread cookies – they came out so well, I wanted to make them into ornaments! Actual “cookies” will not last very long on a tree, from year to year. And most people would prefer to eat them anyway! The reason I prefer this cinnamon/applesauce recipe for ornaments, is that they still look like cookies, but they will last so much longer.
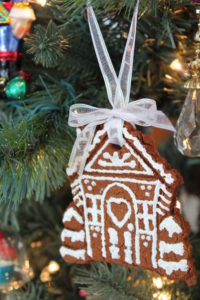
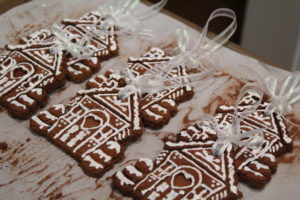
Preheat oven to 325. Prepare cookie sheets with parchment paper.
There are 2 ingredients only: Cinnamon (and lots of it!) and Applesauce. I shop for 2 large bottles of cinnamon at my Costco store. The original recipe ratio is 1:1. I usually start with 2 c of cinnamon, and 2 c of applesauce. This gave me #15 of these 4″ ornaments. The goal is a dough-like consistency – not too wet, but not too dry. The dough is very forgiving, and I have found that depending on the amount of water in your applesauce, a little more cinnamon may be needed to get to the perfect texture. You do NOT want it crumbly – this will result in cookies that crack. You may also want to wear latex gloves when managing the dough – it is a messy process!
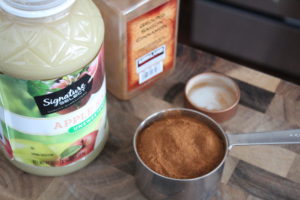
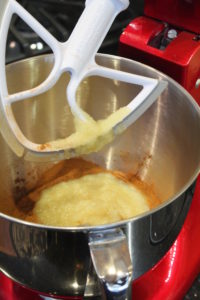
Start with a mixing bowl and a paddle attachment. Combine the cinnamon and applesauce til well-blended and smooth. Add more cinnamon if needed to get to the texture described above.
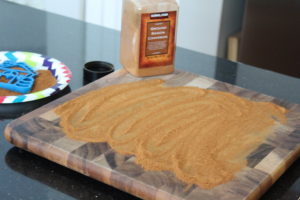
Pour about 1/2 of the dough onto a cutting board dusted with a generous amount of CINNAMON. Use a small plate of cinnamon to dip your cookie cutters in before each cut. Dust the top of your dough – again, generously – before rolling it out to about 1/4″ to 3/8″. You will go through a LOT of cinnamon!
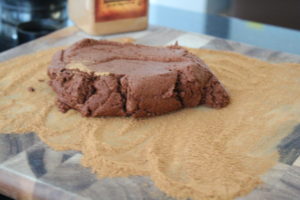

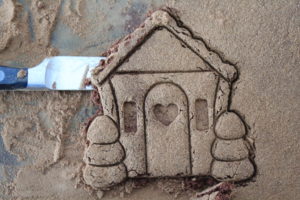
Carefully lift the cut out shapes, using a sharp knife to separate them completely from the board. You can lift them using a small metal spatula, dredged in – you guessed it – more cinnamon! Place shapes onto the parchment.
As you gather up the dough and re-roll it – you may find that it has gotten a bit “crumbly”. No worries! Just through it back in the mixer, add a little applesauce, and blend.
If you plan to hang these, then it is VERY IMPORTANT that you make a small hole in the dough using a plastic straw, before you put them in the oven. Insert the straw, then twist gently. This will remove a small hole of dough perfect for adding a thin ribbon for hanging.
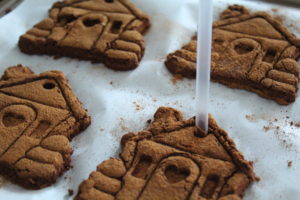
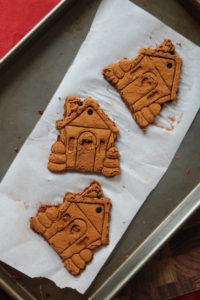
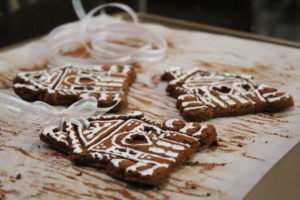
Bake the ornaments – you are actually just “drying” them in the oven. I check them every 15 min. The ornaments you see here took 1 hour in the oven. They should feel very firm to the touch – I used my fingernail as a guide. If you can press your fingernail into the dough, they are not done. I also turn the ornaments over toward the end, using a metal spatula. That helps dry the other side. Allow to cool completely, laying flat.
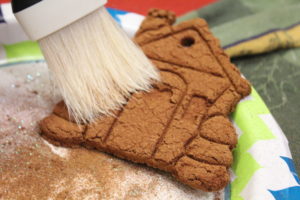
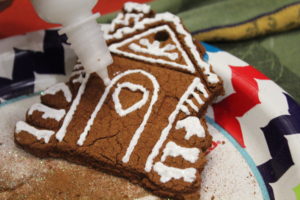
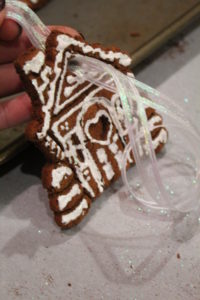
Using a paint or basting brush, remove the cinnamon from the ornament. Decorate using small bottles of fabric paint and glitter. A thin ribbon for hanging will finish them off beautifully!
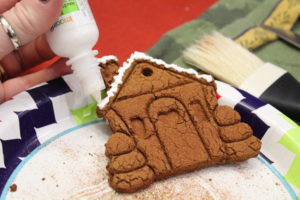
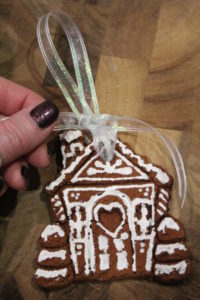
They also make beautiful gifts for the holidays!








2 Comments