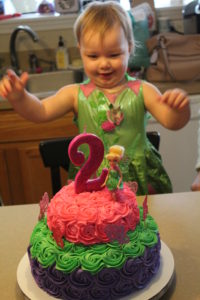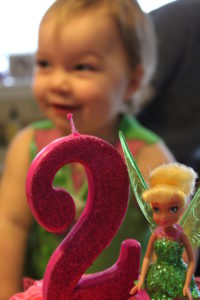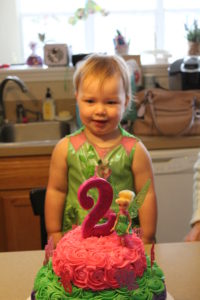
Theme birthdays are so much fun! Especially when they are for a 2-year old! This Tinkerbell cake is for my grand daughter Zoe. She is a character and a half for sure – always smiling, and doing her best to make you laugh!

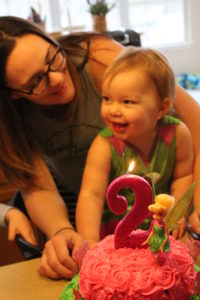
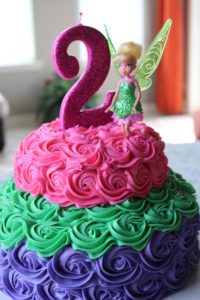
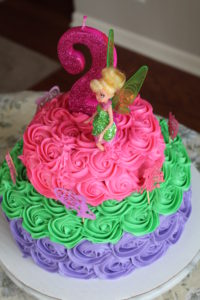
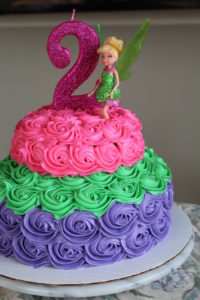
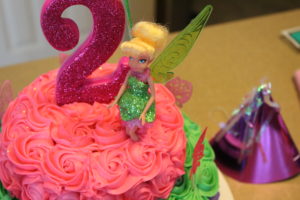
I was inspired first by her love of so many Disney characters. I narrowed the cake design down to Tinkerbell – I think she best represents Zoe’s personality. I love the colors – purple, green and pink. I bought a Tinkerbell figurine for the top, so my design was set! I wanted to make 2 tiers – one with chocolate cake and chocolate mousse filling, with mini chocolate chips for the lower tier, and vanilla cake with lemon mascarpone cream filling for the top tier.
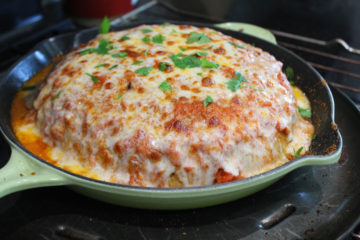
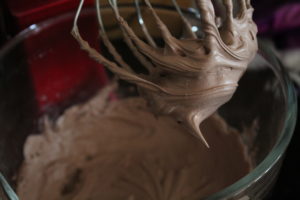
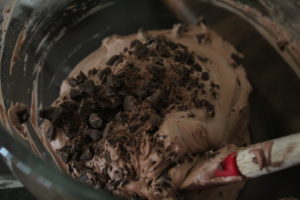
I started by making 2 – 9″ layer cakes of my favorite chocolate cake recipe (Hershey’s.com). (See my blog post for Chocolate Peanutbutter cake). I used a store bought packet of chocolate mousse, and added mini chocolate chips to the mixure.
Place 1 cake layer on a 12″ cardboard cake circle. Spread the chocolate mousse mixture, then top with the remaining layer. Smooth the edges. Refrigerate.
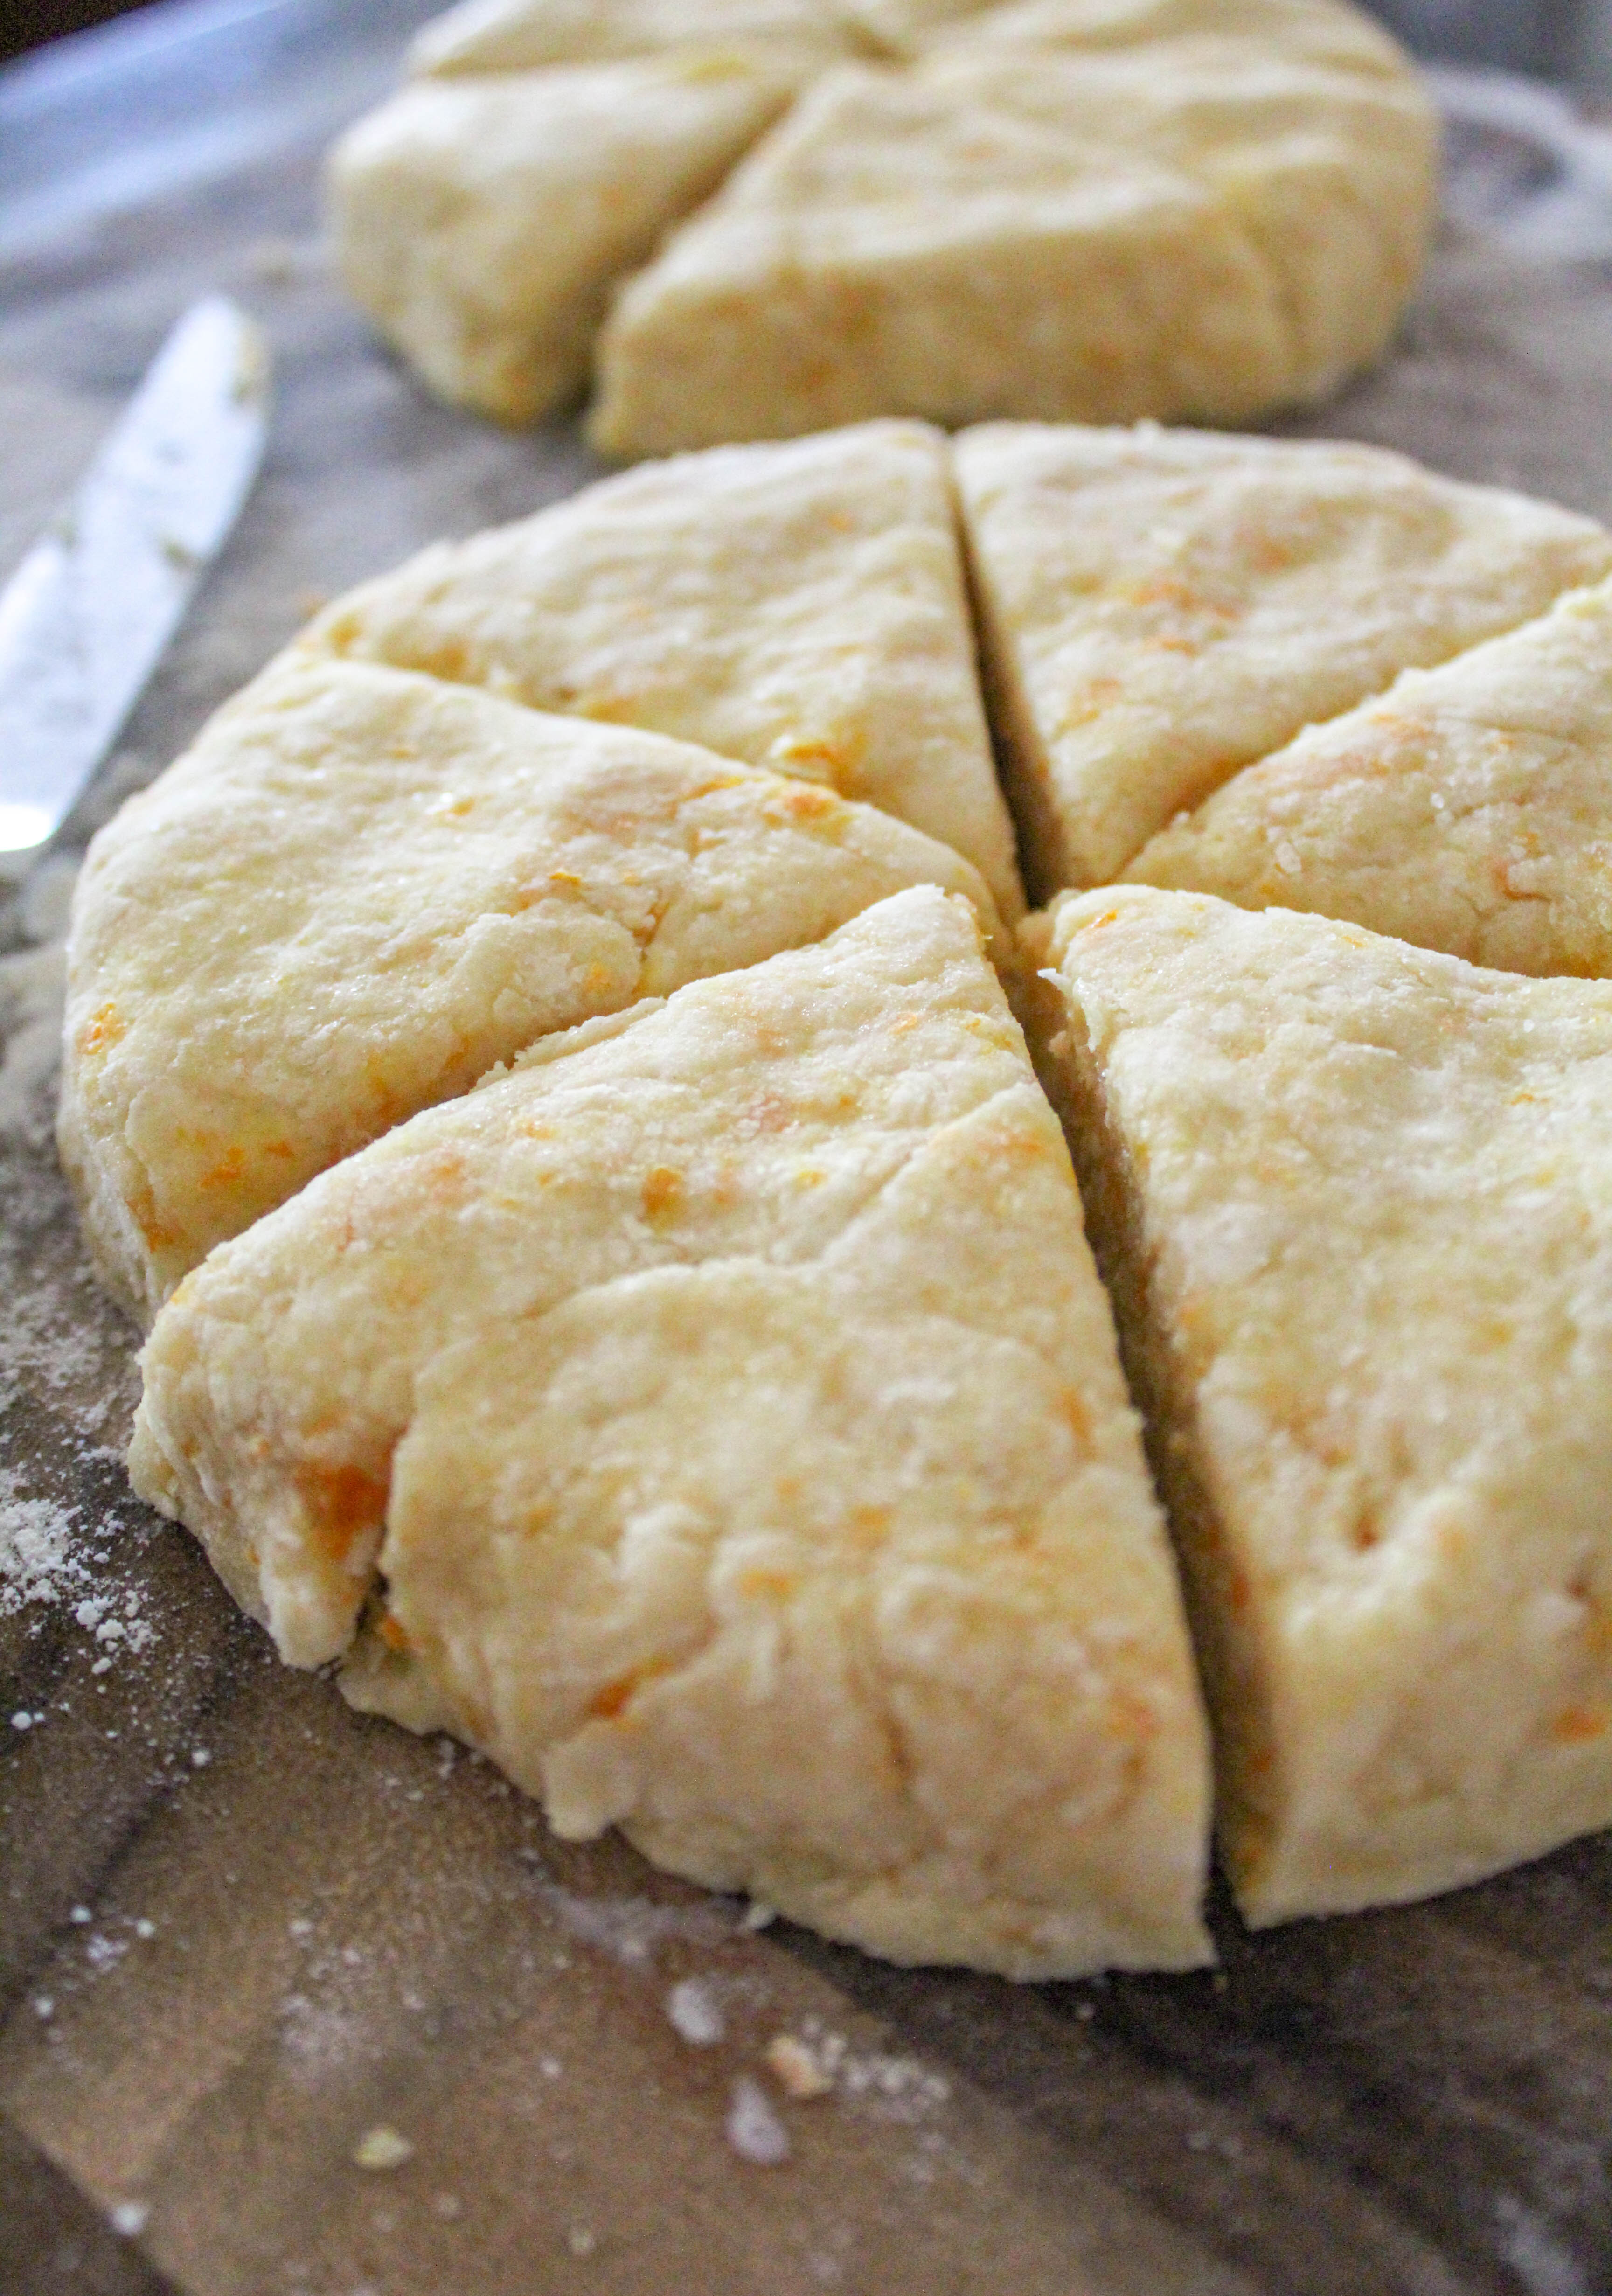
Bake a small vanilla layer cake (6″) – split and fill with lemon mascarpone cream filling.
Lemon Mascarpone cream filling:
1 – 8 oz mascarpone cheese (room temp)
10 oz heavy cream (1 1/4 c)
2 1/2 oz lemon curd (1/3 c)
3 1/2 Tbsp sugar
2 tsp lemon zest
Whip heavy cream and sugar on high in stand mixer, using whisk attachment, until stiff peaks appear. Add mascarpone cheese, lemon curd, and lemon zest. Whip until creamy and smooth.
Split the small vanilla cake in half lengthwise, using a sharp knife. Place on a 6″ cardboard cake circle. Fill with the lemon cream filling, and smooth the edges. Refrigerate.
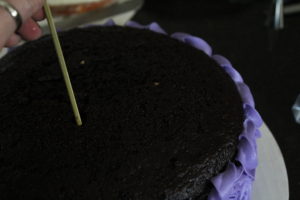
Place 3 wooden skewers, cut at the same height as the chocolate cake, into the middle of the cake. When inserted all the way into the cake, they should be flush with the top. This will be your support, when you add the top vanilla tier.
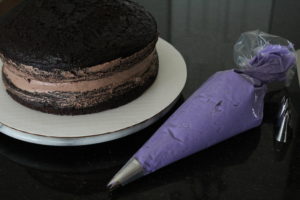
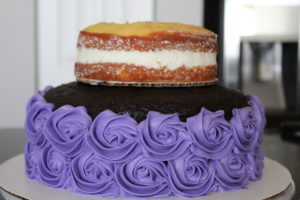
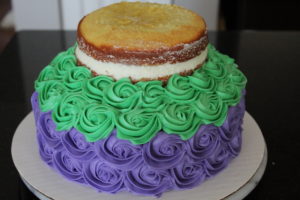
Place the vanilla tier on top of the chocolate cake, and begin to decorate.
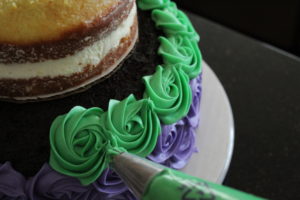
Mix up 3 batches of butter cream cheese frosting (see my blog post for Butter cream cheese frosting). Color each with paste food coloring – purple, green and pink.

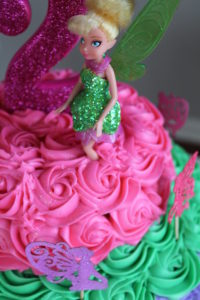
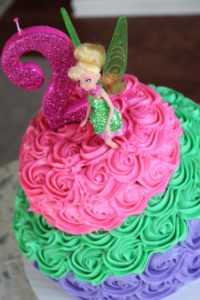
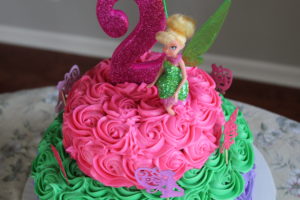
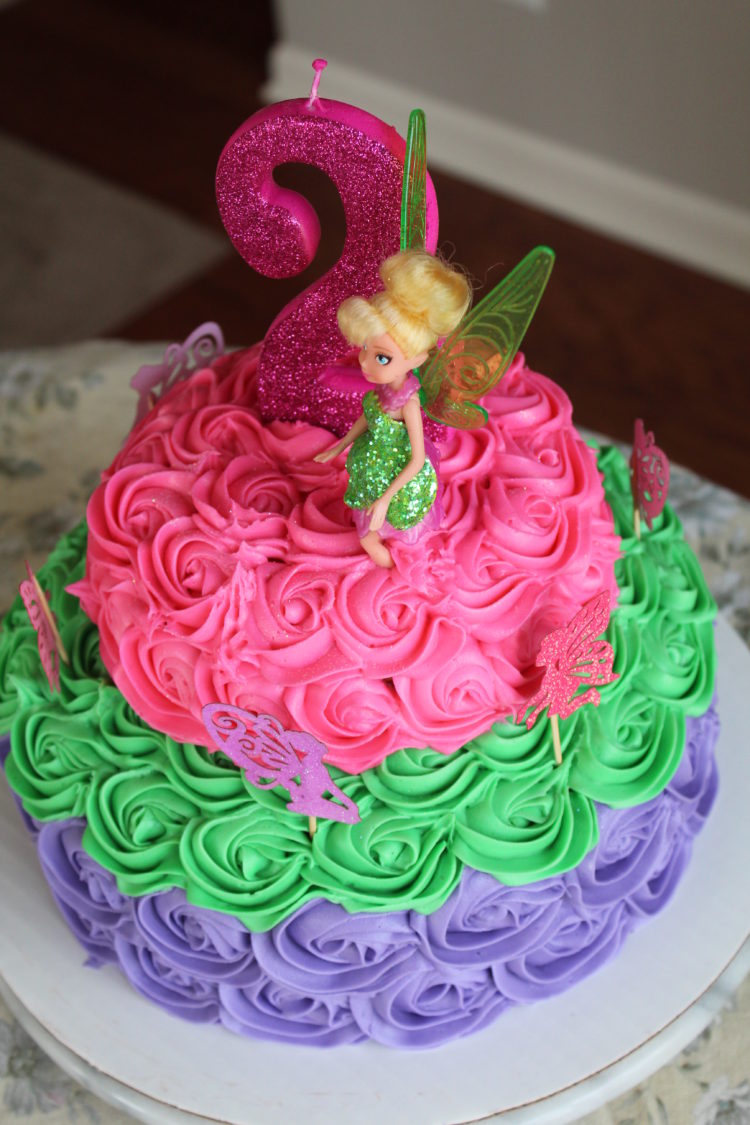
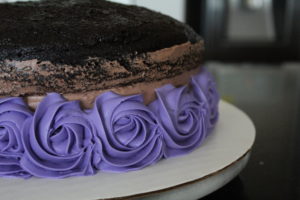
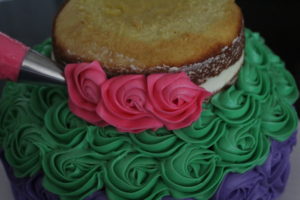
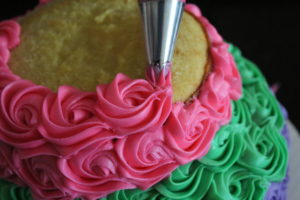
Begin decorating from the bottom up, using an open star tip 1M, and a piping bag. Make “roses” in a swirl pattern.
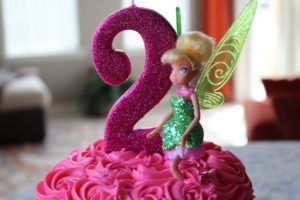
Decorate the top with “Tinkerbell” or other fun decorations, and don’t forget a sprinkling of “edible” sparkling fairy dust!